REFERENCE FRAMES — SURFACE BY SURFACE
Finished tiling is judged at the edges, not the middle
Anyone can photograph a wall of tile. What tells you whether the work was done properly is smaller: the width of a joint where two planes meet, the line of a silicone bead in a corner, the way a floor tips toward its waste. This page groups finished surfaces by type and captions each frame by the detail worth looking at.
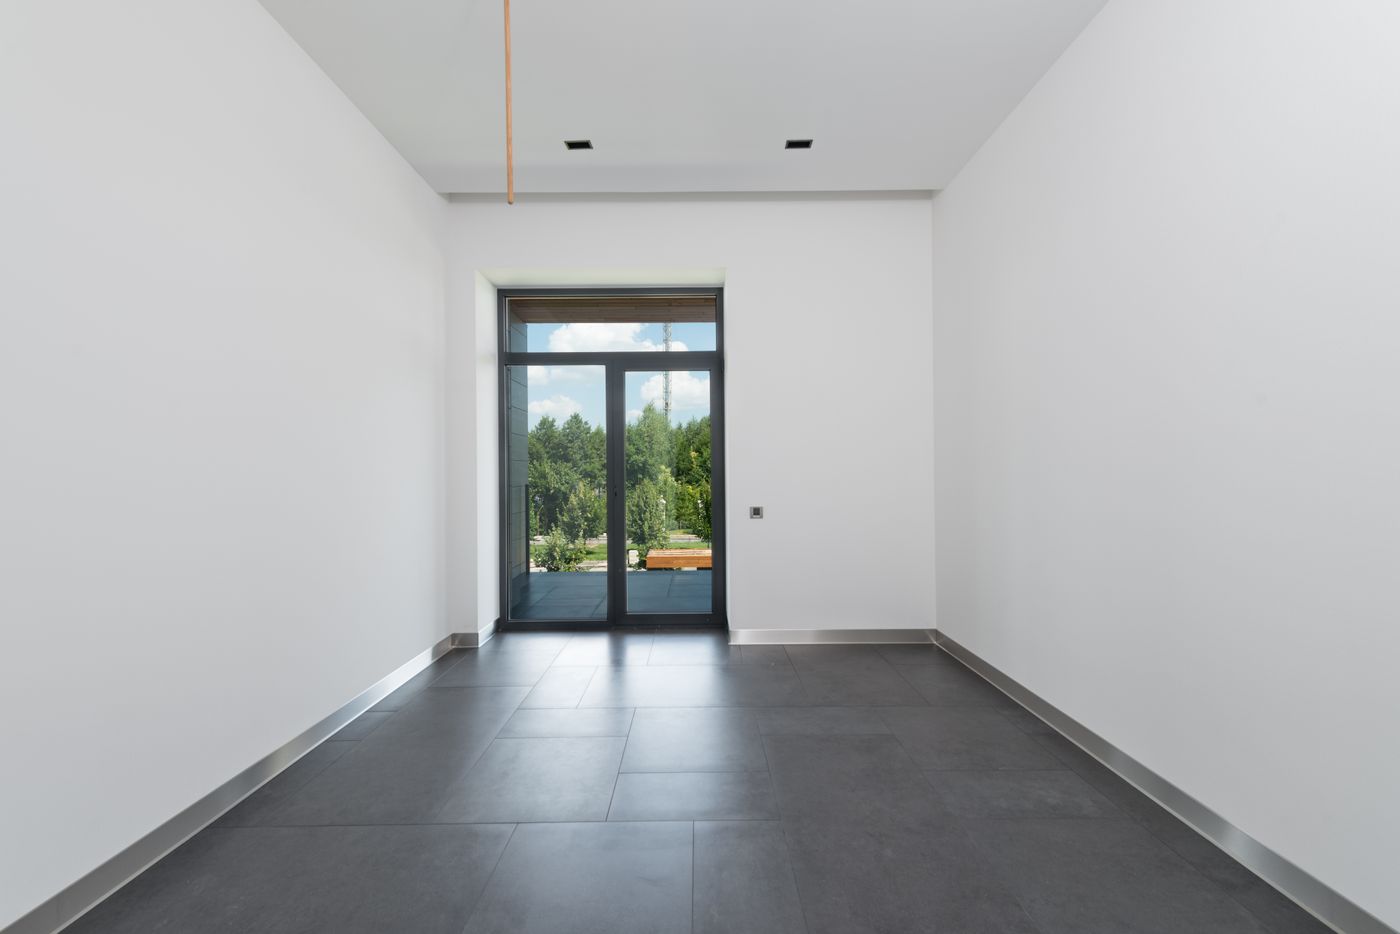
REFERENCE FRAME — A FINISHED INTERIOR FLOOR: READ THE PERIMETER FIRST, WHERE TILE MEETS SKIRTING AND THE THRESHOLD OF THE DOOR.
HOW THIS PAGE IS ORGANISED
By surface, not by address. Each group below sends you to the service page that explains how that surface is built up, prepared and finished.
Six kinds of surface, six sets of details
A shower, a hallway floor and a balcony threshold are three different problems wearing the same material. The photographs below are reference frames — some finished surfaces, some work mid-fix — and they are here to train the eye, not to stand in for a job history.
Showers, niches and wet-area floors — Bathroom Tiling
Bathrooms rebuilt from the substrate up — Bathroom Renovation Tiling
Benches, cooktops and cut-outs — Kitchen Splashbacks
Hallways, living areas and laundries — Floor Tiling
Oversized tiles and slab panels — Large Format Tiling
Elevated decks and ground-level exteriors — Balcony Tiling · Outdoor Tiling
Wet areas: the smallest details carry the most water
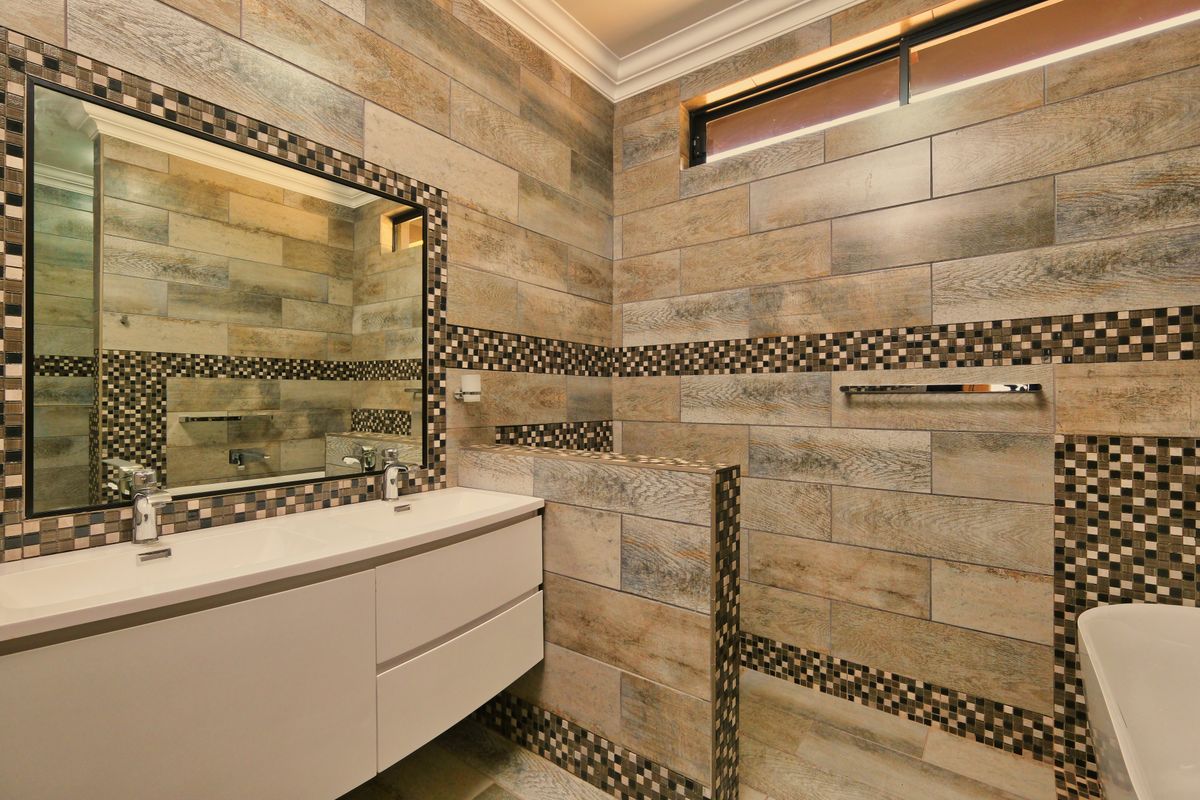
REFERENCE FRAME — A FINISHED WET AREA: READ THE JOINT WIDTH WHERE THE MOSAIC BORDER MEETS THE FIELD TILE, WHETHER THE COURSES RUN LEVEL AROUND THE MIRROR AND VANITY, AND HOW THE TILING IS CLOSED OFF AT EACH INTERNAL CORNER.
Look along a wall rather than at it. Joints should hold one width from floor to ceiling, meet the corner without tapering, and sit full and flush rather than hollowed out. Cut tiles belong in the least-seen corner, not beside the door.
A wet-area floor should drain dry. In a photograph you read it from the joint lines converging on the waste and the absence of pooling around it.
Floors and large format: flatness shows up in the light
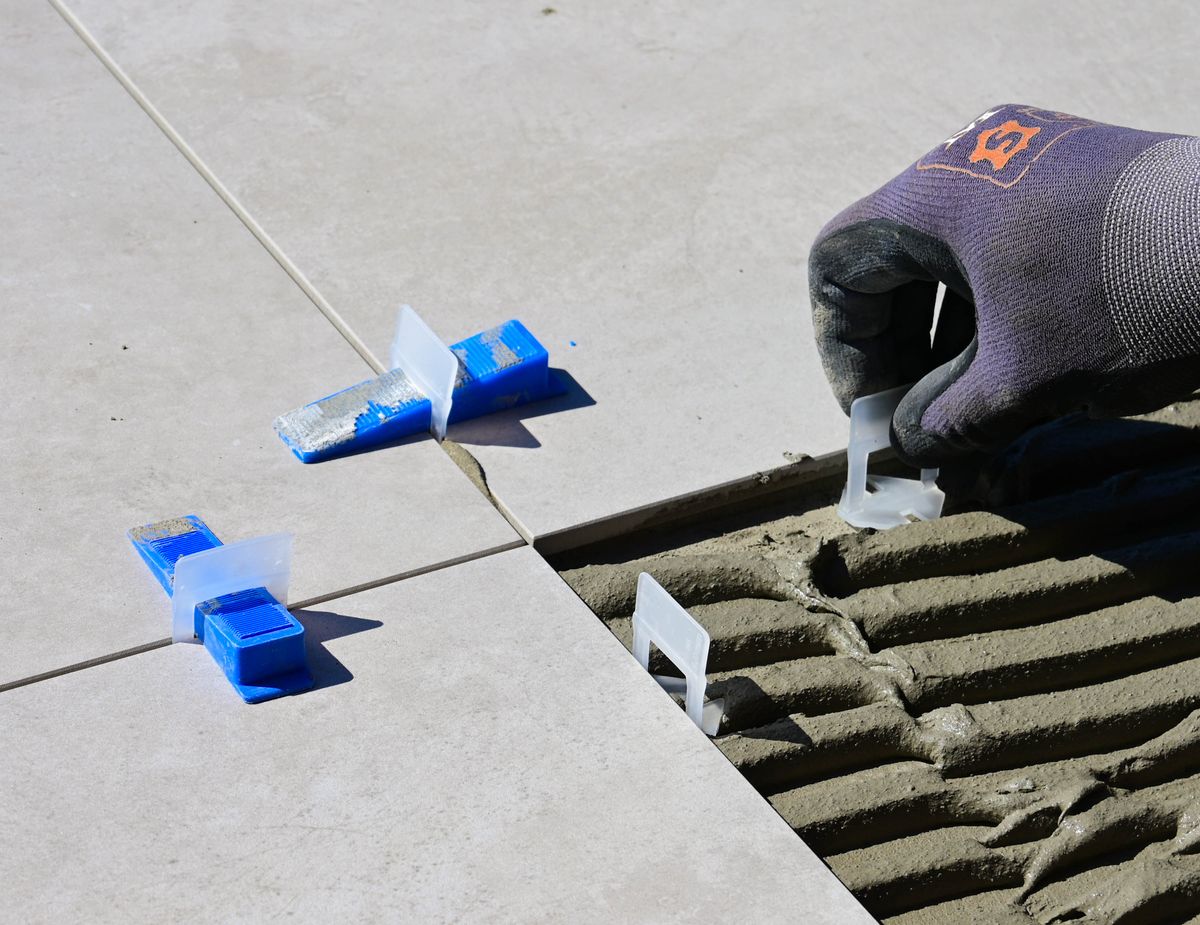
REFERENCE FRAME — LARGE TILES BEING SET WITH A LEVELLING SYSTEM: THE CLIPS HOLD NEIGHBOURING EDGES FLUSH WHILE THE ADHESIVE GOES OFF, WHICH IS WHY RAKING LIGHT LATER FINDS NO LIPPED JOINT. NOTE THE FULL ADHESIVE BED AT THE TILE EDGE.
WHAT TO CHECK IN A FLOOR
Joint lines running straight the full length of the room, not drifting toward one wall
No lipping between neighbouring tiles when light crosses the surface
Cuts at the perimeter of an even, sensible width rather than slivers
A clean threshold where tile meets timber, carpet or an outside door
Movement joints present at the perimeter and across long runs

REFERENCE FRAME — AN EXTERIOR MOSAIC WALL BESIDE A BALCONY: READ THE JOINT ALIGNMENT WHERE ONE SHEET MEETS THE NEXT, HOW THE CORNER IS TURNED, AND WHERE THE TILING IS STOPPED AND SEALED AGAINST THE RAILING AND THE OPENING.
Splashbacks, balconies and outdoor areas
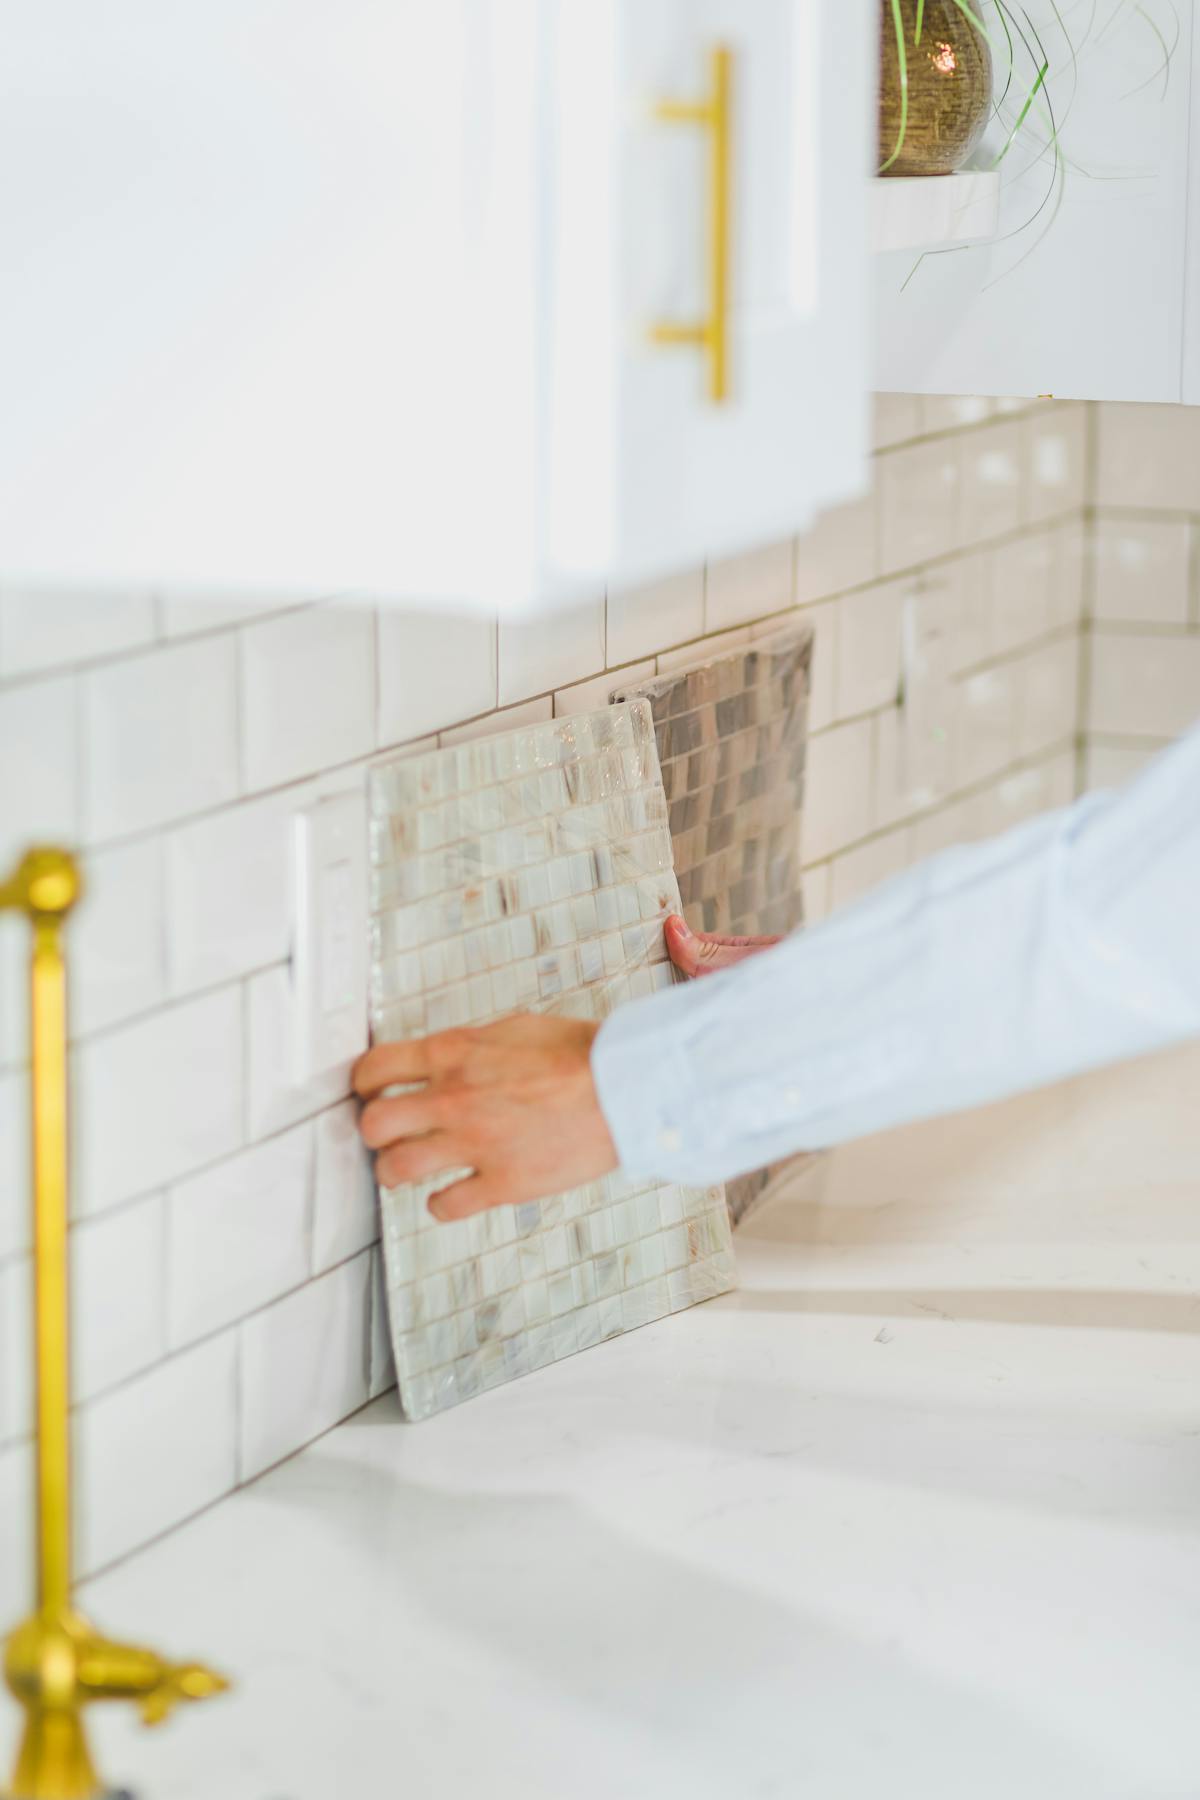
REFERENCE FRAME — A KITCHEN SPLASHBACK AT BENCH HEIGHT: THE DETAILS ARE WHERE THE FIRST COURSE SITS ABOVE THE BENCHTOP, WHETHER THE SHEET JOINTS LINE THROUGH WITH THE TILE ALREADY FIXED, AND HOW THE RUN IS FINISHED AT ITS OPEN END.
Bring a photograph of your own surface
The quickest way to describe a tiling problem is to show it. A corner, a joint, a stained patch of grout, the stretch of floor that sounds hollow underfoot — a few frames from a phone usually say more than a paragraph, and they make the first conversation about the right layer straight away.
USEFUL FRAMES TO SEND
The whole surface, square-on, so the setting out is visible
A close frame of the corner, joint or crack that prompted the call
Anything showing outside the room — a stained ceiling, swollen skirting, lifted floorboard
For exteriors, a frame that includes the drain, step or threshold