GUIDE — LARGE FORMAT TILES
Fewer joints, and far less room to hide a wavy wall
Large panels trade grout lines for tolerance. A 1200mm tile cannot bend into a floor that dips a few millimetres, so the plane underneath has to be corrected before anything is fixed — and that is where most of the extra work sits.
THE FIVE CHAPTERS BELOW
— Flatness, lippage and levelling systems
— Where the size shows up: bed coverage, cutting, weight and access
— What the fewer joints buy you
— The trade-off, item by item
— Five checks on your own surface
Roughly, a tile is treated as large format once its long edge passes 600mm — the point at which it stops following the surface and starts testing it.
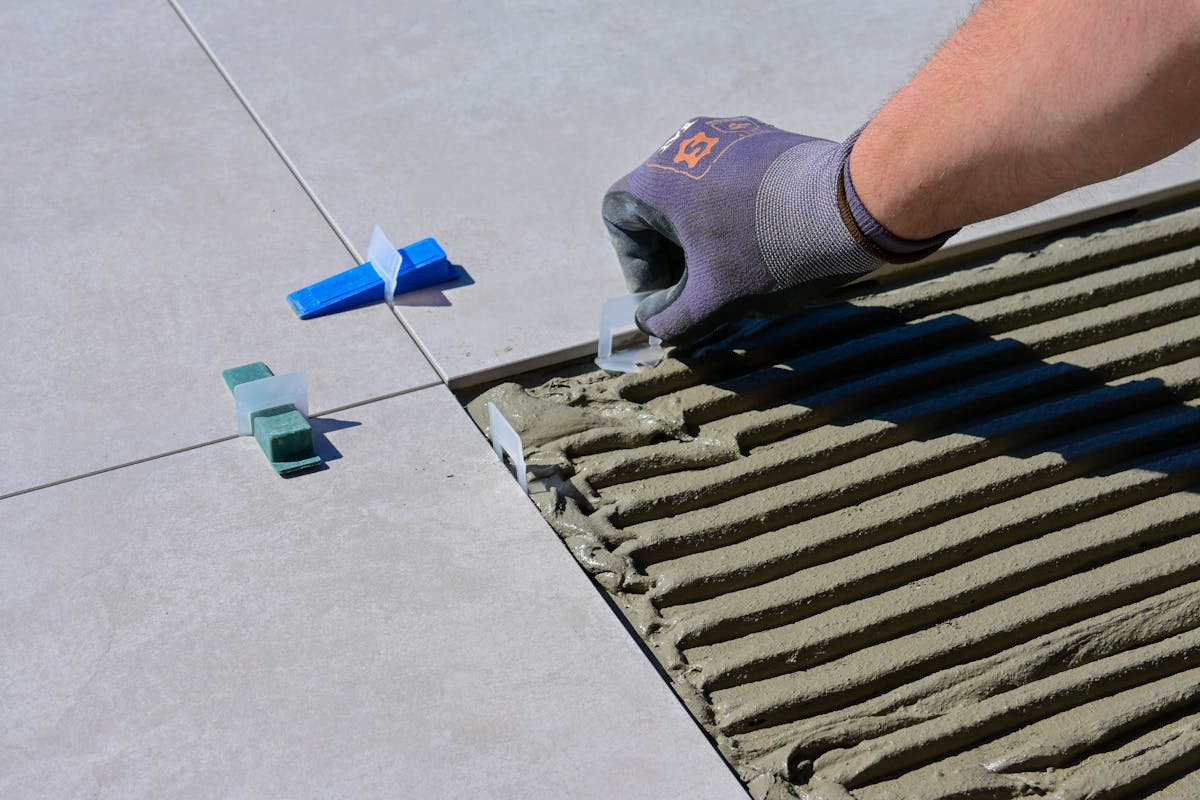
TECHNICAL NOTE — LIPPAGE
The height difference between two adjoining tile edges. It is usually felt underfoot or caught by raking light before anyone sees it, and it cannot be corrected once the bed has set.
Levelling clips control the last millimetre between two tiles. They do not correct the ten millimetres a floor may be out across a room.
A long tile reads the floor back to you
Under 300mm tiles, a gentle hollow in a slab quietly disappears. Each tile tilts a fraction, dozens of joints share the difference, and nothing looks wrong. Lay a 1200mm panel across the same hollow and it bridges the high points instead: the middle sits proud, the ends drop away, and the step between neighbouring edges becomes obvious the moment light runs along the surface.
So a large format job tends to begin with a straightedge rather than a trowel. High spots are ground back, hollows filled with a levelling compound, walls checked for bow and plumb, and the whole plane brought inside a tighter tolerance than smaller tiles would ever ask for. Only then does fixing start, with a levelling system holding adjacent edges flush while the adhesive cures.
THREE UNFORGIVING POINTS
Where the size shows up
Past roughly 600mm on the long edge, three parts of the job change character.
01 — BED COVERAGE
A wide tile needs adhesive under all of it, not ridges with voids between them. A notched trowel combed in one direction, the tile back-buttered and the ribs collapsed as it is bedded, gets close to a solid bed. Unsupported voids are where a panel cracks a year later, usually along a line nobody can explain.
02 — CUTTING
Long formats are scored and snapped on a rail or wet-cut, supported along their whole length so they do not flex mid-cut. Openings for floor wastes, mixers and power points are drilled at the corners and relieved rather than cut square — a sharp internal corner concentrates load and invites a crack.
03 — WEIGHT AND ACCESS
One panel can be a two-person lift, and it has to travel through doorways, around stair returns and into the room without flexing. Suction handles, a frame for the largest sheets and a clear path through the house matter as much as the fixing method itself.
What the fewer joints buy you
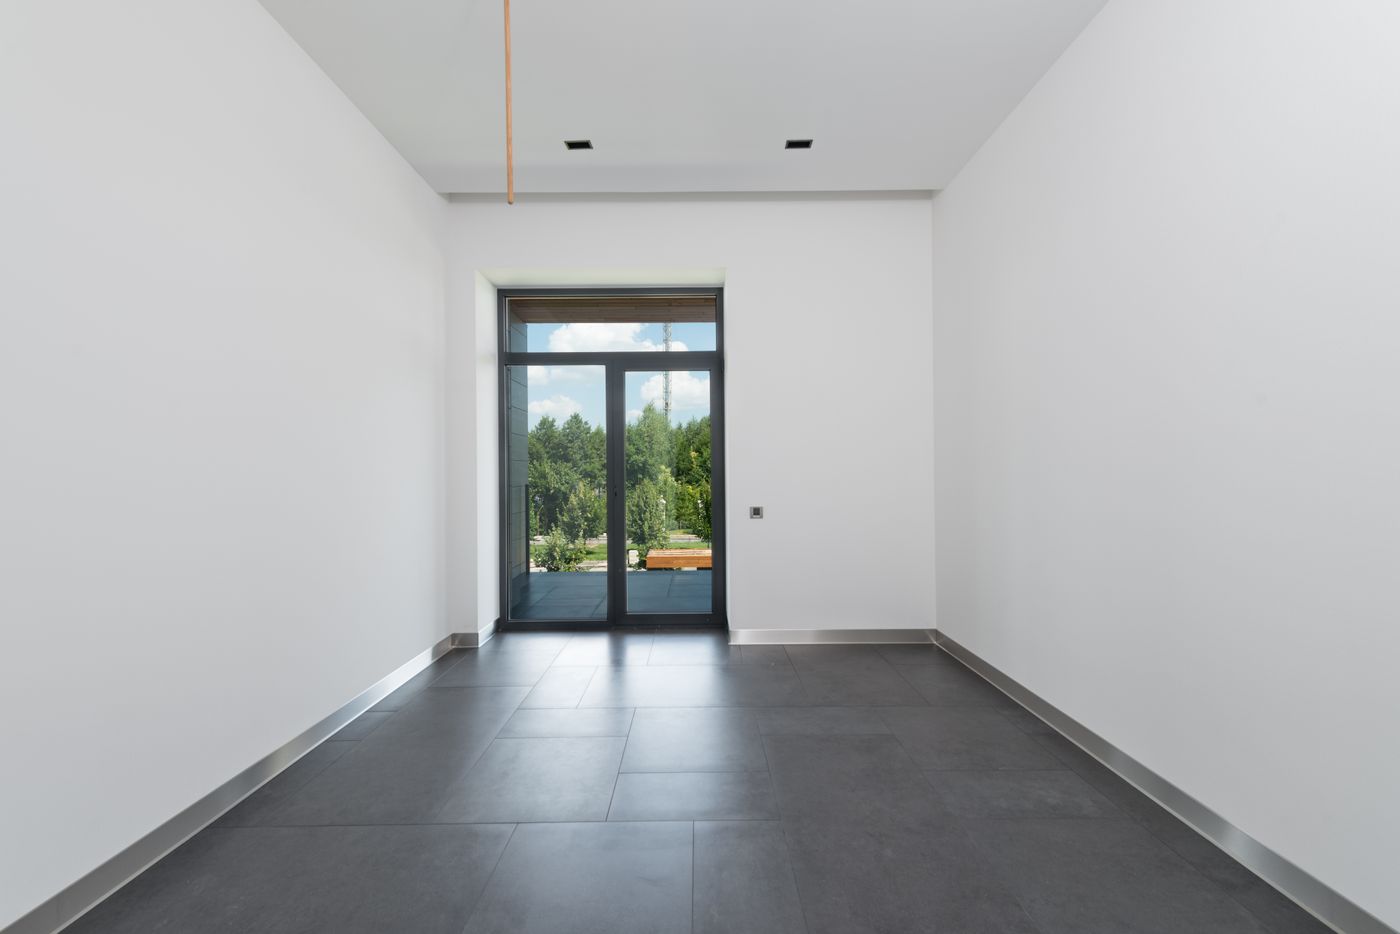
A floor with a quarter of the grout lines reads as one plane rather than a grid, and the eye carries through to the wall instead of stopping at every joint. There is also less grout to stain, chip or eventually renew, and fewer junctions for water to sit in on a laundry or bathroom floor.
On walls the effect is stronger again: a single panel behind a vanity or across a shower wall removes the pattern entirely and lets the marble or concrete look do the work. Small rooms often benefit most, which is the opposite of what most people expect.
STANDARD SIZE AGAINST LARGE FORMAT
The trade-off, item by item
Joints
Standard sizes give many joints that absorb small variation. Large format gives few, and every one of them is looked at.
Surface preparation
Standard sizes forgive a slightly uneven plane. Large format needs it corrected first, so levelling is often a real line in the job rather than an afterthought.
Cutting and waste
A poor cut in a 300mm tile costs one tile. A poor cut in a 1200 by 2400 panel costs a sheet, which is why setting out is done before anything is scored.
Repairs later
Replacing one small tile is contained work. Removing a single large panel disturbs a wide area and its neighbours, so bond quality at fixing time matters more.
Movement
Long runs still need perimeter gaps and movement joints. A big tile does not remove the need for somewhere to move; it makes leaving that room more important.
BEFORE YOU ORDER
Five checks on your own surface
01 Lay a long straightedge or spirit level across the floor in several directions and look for daylight under it. Anything more than a couple of millimetres over two metres is worth noting.
02 Tap the existing floor or wall with a knuckle. A hollow, drummy note means the current bed is already loose and should not be tiled over.
03 Add up the height you will gain — levelling compound, adhesive bed and a thicker tile — and check it against door clearances, thresholds and any step.
04 Walk the delivery path the panels will take, including the front gate, hallway width and any turn at the top of stairs.
05 Check whether the walls run square and plumb. Out-of-square corners are far more visible when a joint only appears once every metre.
If two or three of these point the wrong way, the honest answer is that levelling comes before tile selection — not that large format is off the table.
Large panels, judged against your actual floor
Whether a large format tile is the right call in a Murrumbeena bathroom, hallway or alfresco area depends less on the tile and more on the surface it has to sit on. That is a straightforward thing to assess on site with a straightedge.
WHERE TO GO NEXT
Large Format Tiling — the service page
Floor Tiling — standard sizes indoors
Tile Preparation — the levelling behind it
Porcelain vs Ceramic — choosing the body