TILING MURRUMBEENA — GUIDE
The only stage of a tiling job that is expensive to revisit, and the only one that is invisible once it is finished.
Preparation is the part of a tiling job you only ever see once
Before a single tile is fixed, the surface beneath it has to be read, corrected, drained and primed. It is the least photogenic stage of the work, and the one that decides whether the finished floor stays flat, sound and dry.
THE FIVE STAGES BELOW THE TILE
01 Reading the substrate
02 Screed and fall
03 Levelling and flatness
04 Primer and bond
05 Setting out and joints
STAGE 01 — SUBSTRATE
Nothing is fixed to a surface that hasn't been read first
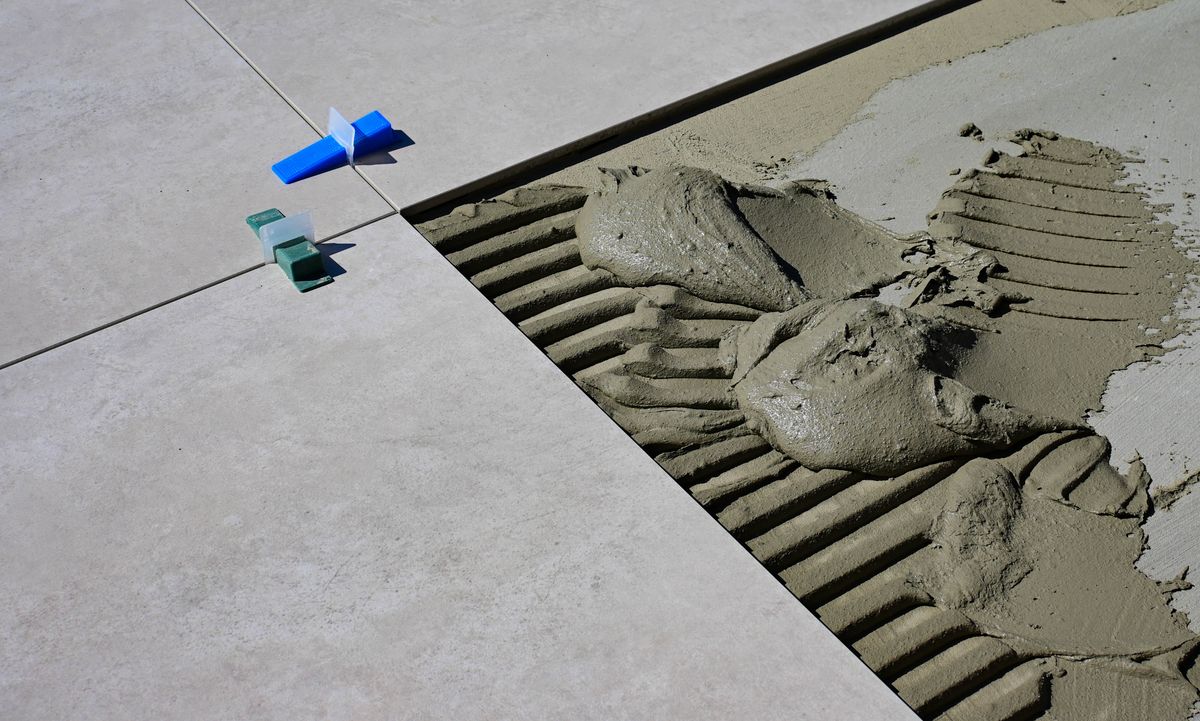
REFERENCE PHOTOGRAPH
Ridged adhesive only reads this evenly on a surface that has already been corrected. The comb sets the bed depth; the flatness and the primer beneath it were settled before any of it was spread.
STAGES 02 — 04
Fall, then flatness, then bond
Three corrections, in a fixed order. Each one has to be finished and cured before the next is worth starting.
02 — SCREED AND FALL
03 — LEVELLING
04 — PRIMER
Primer is not a coat of paint. It slows a porous surface from pulling water out of the adhesive, binds residual dust, and gives dense substrates something to hold. Then it is left alone — cure time is part of the program, not a delay in it.
STAGE 05 — SETTING OUT
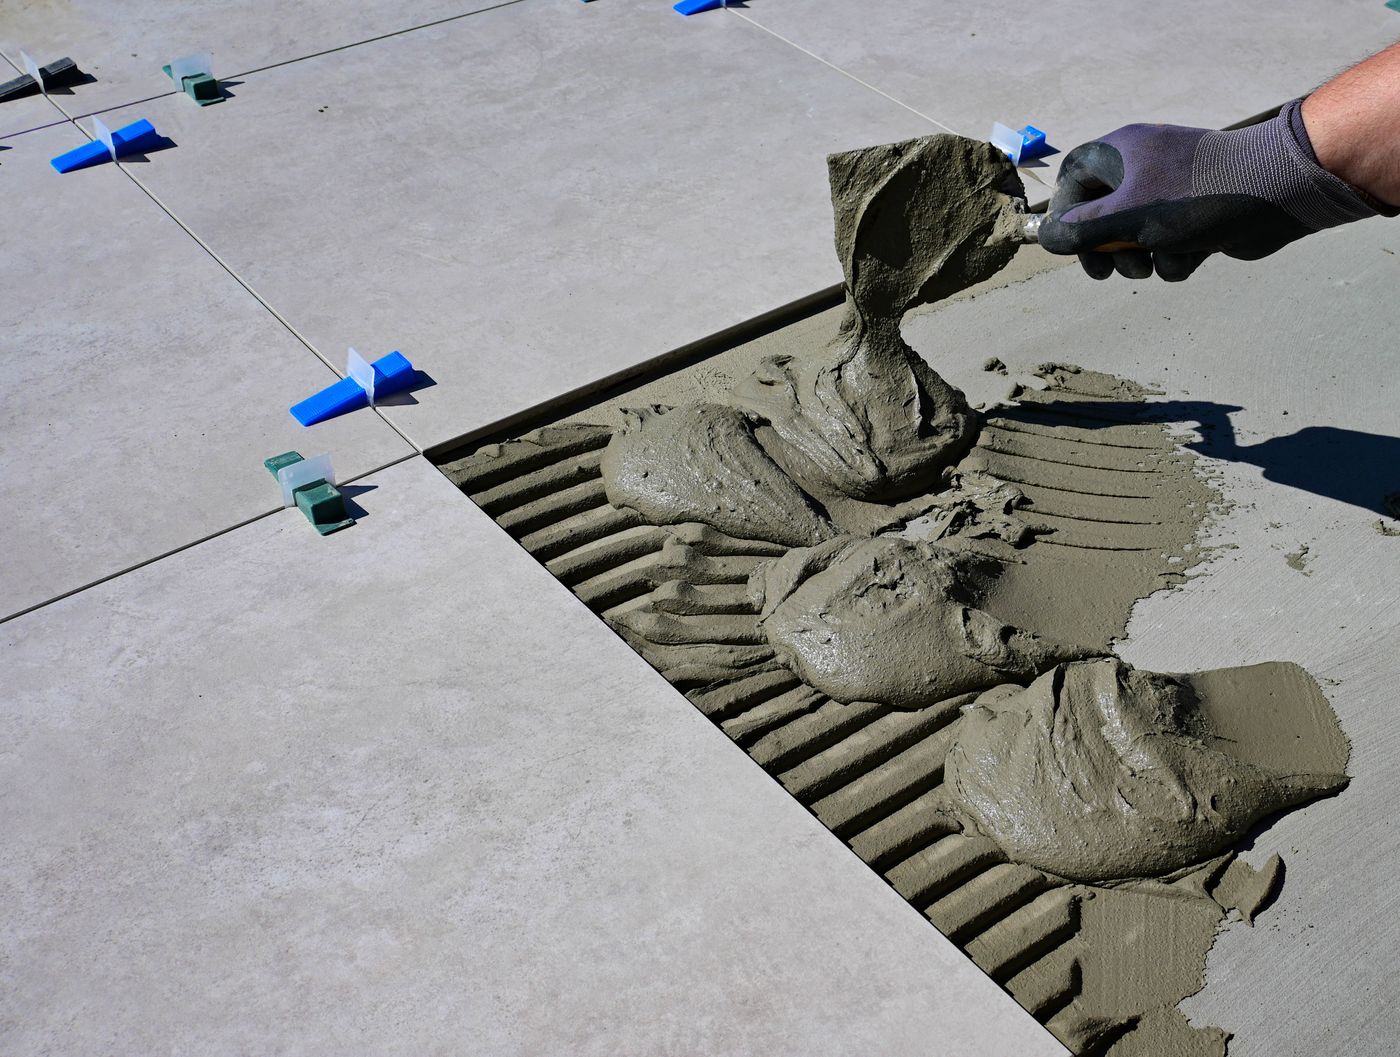
Where the first tile goes decides where the last one lands
Where this leads next
Preparation is shared ground: every service below begins with the same five stages, judged against a different finish.
A surface still flat, sound and dry in ten years was decided before the first tile went on
That is the honest reason preparation takes a real share of the time and the quote on any tiling job — and the reason a quote is worth writing after looking at what is actually under the tile.
MURRUMBEENA · CARNEGIE · HUGHESDALE · OAKLEIGH · CHADSTONE · MALVERN EAST · BENTLEIGH EAST · ORMOND · McKINNON