Big tiles punish a floor that isn't flat
A large tile cannot bend into a hollow or ride over a hump. Whatever the substrate is doing, the tile reports it at the joint — so the floor is corrected long before the first sheet is lifted into place.
FORMAT
Anything past roughly 600 × 600 — 600 × 1200, 900 × 1800 and slab panels — on floors, bathroom walls, shower walls and splashbacks.
Where standard fixing runs out
A 300 × 600 tile forgives a little. It spans a short distance, it has a joint every few hundred millimetres, and small deviations in the floor disappear quietly into the adhesive bed. Push the format up to 1200 or 1800 millimetres and that tolerance is gone. The tile becomes a rigid plane laid across whatever the substrate is actually doing, and the joints that used to absorb the error have been designed out of the layout.
That is the trade, and it is worth making. Fewer grout lines means fewer places to stain, fewer edges to chip and fewer joints to fail — but the floor beneath has to be flatter, the bed has to be fuller, and the setting-out has to be right first time, because there is no narrow joint left to lose a millimetre into.
SUBSTRATE FLATNESS
A straightedge is run across the area in several directions. High points are ground back, hollows filled with a levelling compound, drummy sections lifted rather than covered. This is the line item that grows with tile size, and it is the one that decides whether the finished floor reads flat.
BED COVERAGE
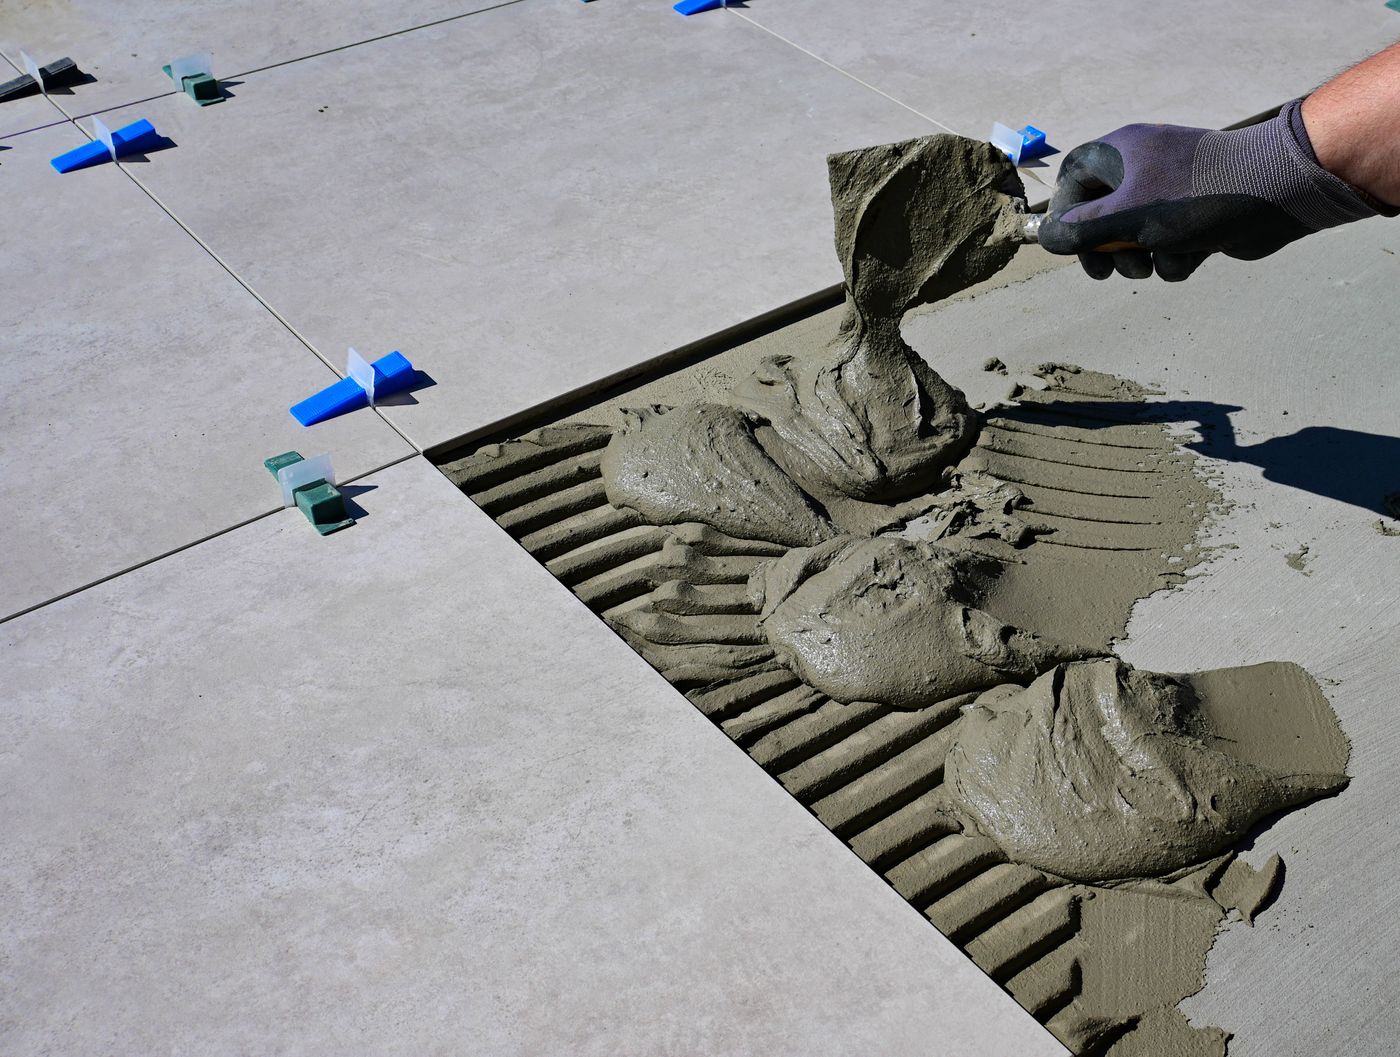
Notched adhesive alone leaves ribs and voids under a long tile. Each piece is back-buttered so the bed closes to full contact, which is what stops hollow-sounding corners and edge cracks later on.
LIPPAGE CONTROL
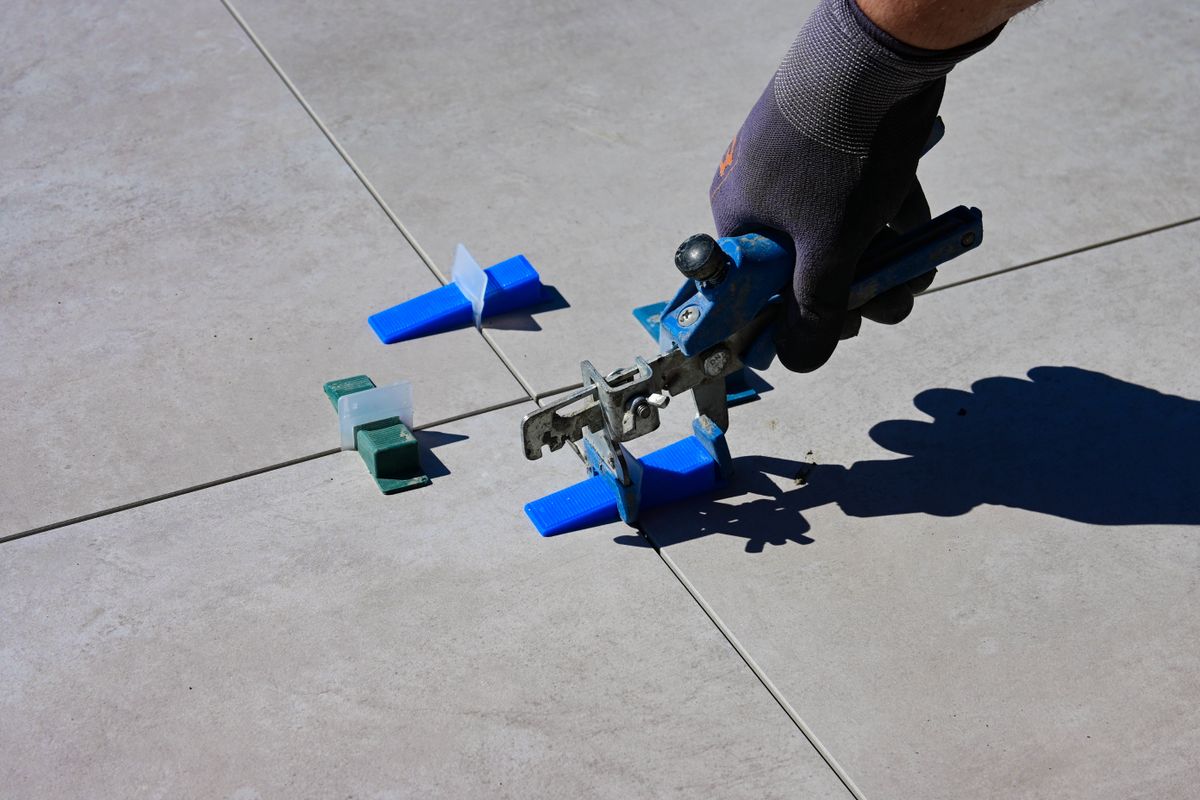
Levelling clips hold neighbouring tiles in the same plane while the adhesive sets, so the joint stays flush under raking light instead of catching a shadow.
REFERENCE PHOTOGRAPH
Large tiles held in one plane while the bed sets: a levelling tool worked across the joint, with clips and wedges taking out the lippage a long format would otherwise show.
The order a large format floor goes down in
Nothing here is optional at this size. Each step exists to remove a variable before the tile is committed to the floor.
01 Straightedge the floor and record the hollows, humps and drummy areas.
02 Grind back the high points, level the low ones and prime so the adhesive can bond.
03 Set out from the sightline that matters, balancing cuts at the perimeter and doorways.
04 Notch, back-butter and place with two sets of hands; clips hold the joints level while it sets.
05 Remove clips, clean the joints, grout, then silicone the perimeter and internal junctions.
Questions that decide the method
Can an existing floor take large format without levelling?
Occasionally, if the slab or sheeting is already flat, sound and clean. More often a floor that was fine under 300 × 300 needs at least local correction before a 1200 tile will sit without lippage. It is checked with a straightedge on site, and the levelling scope is settled before the fixing method is.
Do fewer grout lines really mean less maintenance?
Can large format go on walls and splashbacks too?
RELATED SERVICES
Tell us the room and the tile size
The format, the area and the condition of the existing floor are what set the levelling scope — and the levelling scope is most of the difference between a quick quote and an accurate one.
SERVICE AREA
Murrumbeena, Carnegie, Hughesdale, Oakleigh, Chadstone, Malvern East, Bentleigh East, Ormond and McKinnon — residential and small commercial work.