Bathroom tiling, built from the substrate up
A bathroom gets judged on its grout lines and its silicone bead. It gets decided much earlier — in the sheeting, the fall to the waste and the membrane nobody will ever see again.
SCOPE OF THIS SERVICE
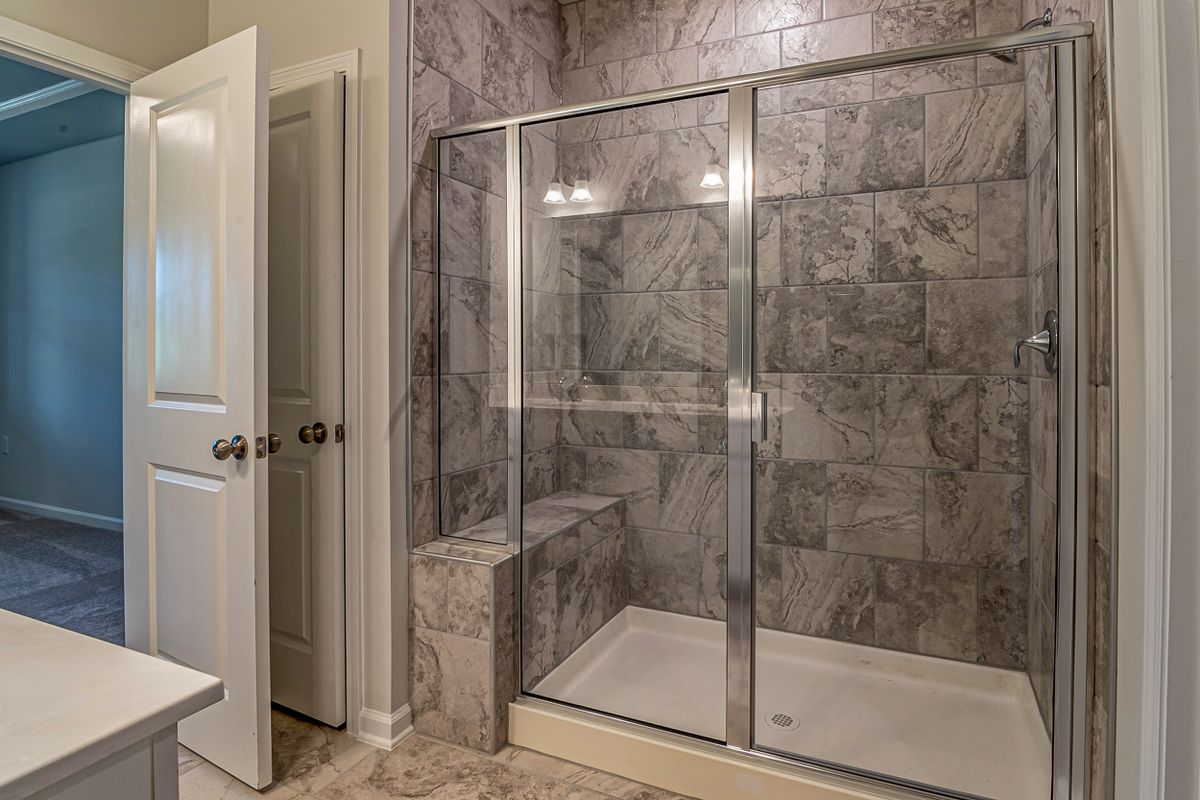
Wall tiling — shower, bath surround, full height or set-down
Floor tiling with fall to the waste
Shower bases, hobs and level-entry thresholds
Recessed niches, shelves and bench seats
Grout, silicone and finishing lines
Murrumbeena and the surrounding south-east suburbs — Carnegie, Hughesdale, Oakleigh, Chadstone, Malvern East, Bentleigh East, Ormond and McKinnon.
TECHNICAL ASIDE
A wet area is not a surface with a coating on it. It is a stack — sheet, screed, membrane, bond coat, tile, joint — and every layer depends on the one beneath it being flat, dry and properly detailed.
Tiling a wet area is a sequence, not a surface
WHAT IT BUYS YOU
Water that leaves the room by the waste, not through the wall
Cuts placed where the eye doesn’t land first
Joints that stay straight through corners and niches
Movement absorbed by silicone instead of cracked grout
PREPARATION AND PROCESS
The build-up, in the order it happens
Four stages, each one closing off the mistakes of the last. Nothing is fixed to a layer that hasn’t been checked.
STAGE ONE
Substrate
Sheeting, framing and fixings are checked for flatness and movement. Soft or unsupported sheet is replaced before anything is fixed to it — a floor or wall that flexes will crack grout no matter how carefully the tile is laid.
STAGE TWO
Fall and screed
The floor is screeded so water runs to the waste instead of pooling at the hob or the glass. Falls are set before waterproofing, because a membrane follows the shape it is given — it cannot correct a flat floor.
STAGE THREE
Membrane and bond coat
Corners, junctions and penetrations are detailed first, then the membrane is applied and left to cure properly. Adhesive is combed to suit the tile, and backs are buttered where size or substrate calls for it.
STAGE FOUR
Tile, grout, silicone
Tiles are set to the marked-out lines and levelled, then grouted once the adhesive has gone off. Internal corners and the floor-to-wall junction are siliconed rather than grouted, so movement has somewhere to go.
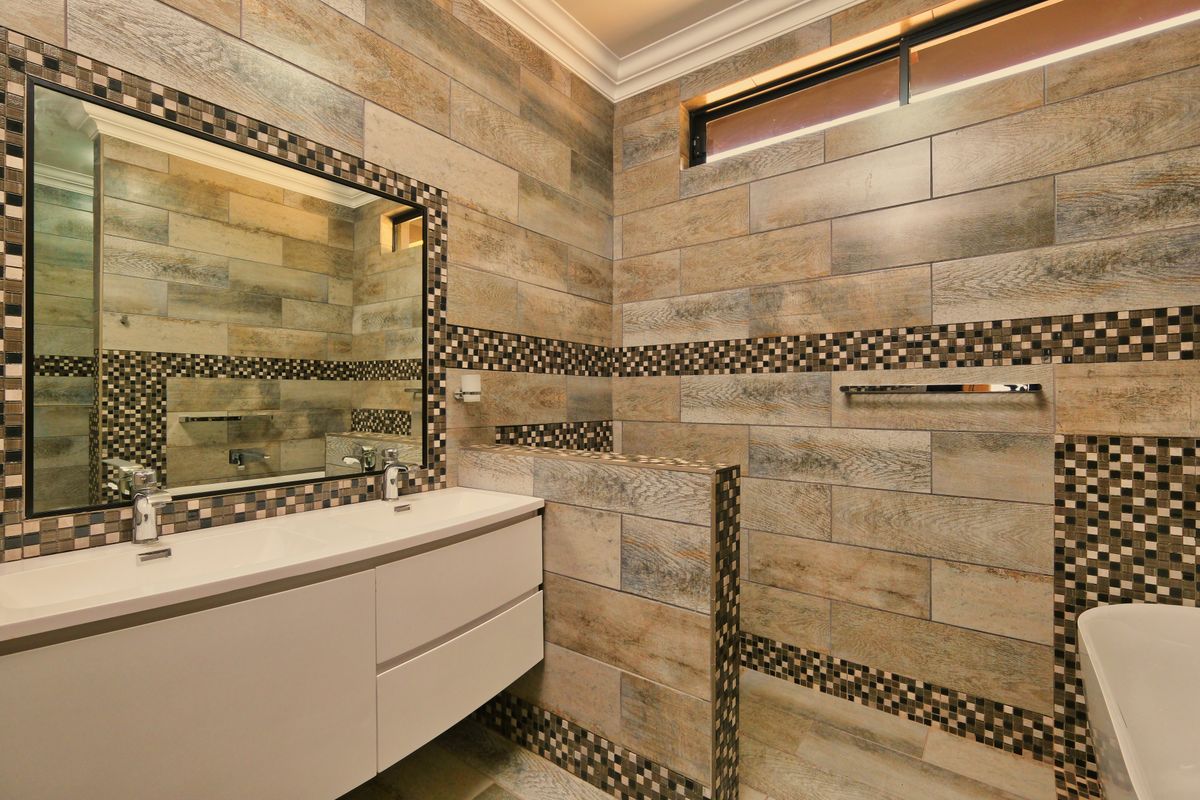
Reference photograph: wall tiles run past a mosaic border course and around a tiled vanity — the junctions where setting-out either lines through or gives itself away.
Setting out decides where the cuts land
NICHES — sized to the tile, waterproofed as part of the wall, and given a slight fall to the front so water leaves the shelf instead of sitting on it.
QUESTIONS WE’RE ASKED ON SITE
Before you commit to a bathroom
Can you tile over the existing bathroom tiles?
On sound, well-bonded walls with the right primer it is sometimes possible, but it lifts the finished surface and it hides whatever the old membrane is doing underneath. Inside a shower we would rather strip back and start again at the substrate.
How soon can the shower be used?
Tiling is not the last step. The membrane, the adhesive, the grout and the silicone each have their own cure time, and shortening them is how a new bathroom starts weeping. The sequence and the waiting are set out in your written quote for your specific job.
The tiles look fine but the shower leaks — do we need a retile?
What moves the cost of a bathroom up or down?
NEXT LAYERS
03 Waterproofing — the membrane stage, detailed before any tile is set
02 Bathroom Renovation Tiling — strip-out, substrate correction and the full rebuild
06 Large Format Tiling — fewer joints, tighter flatness tolerance
11 Leaking Shower Repairs — tracing the source before deciding what comes out
09 Regrouting — joint and silicone renewal where the tiles are still sound
REQUEST A QUOTE
Tell us what the bathroom is doing
A new wet area, a tired one, or a shower that has started marking the wall outside it — describe the room and what you are seeing, and we can tell you which layer the work actually starts at.