IN THIS ARTICLE
01 What a wet-area membrane actually is
02 The four places water genuinely escapes
03 Why a moving corner needs a bond breaker
04 Cure time, and why tiling waits for it
05 What to look at before the tiles go on
Written for a homeowner standing in a stripped bathroom, watching the stage that disappears the moment tiling starts.
GUIDE — WET-AREA WATERPROOFING EXPLAINED
Bathroom waterproofing: where water actually escapes
Water rarely comes through the face of a tile. It finds the joins — the corner where two planes meet, the hole cut for a mixer, the edge of a floor waste — and travels behind the finish until it appears somewhere else entirely. The membrane is what decides whether it gets that far.
REFERENCE FRAME
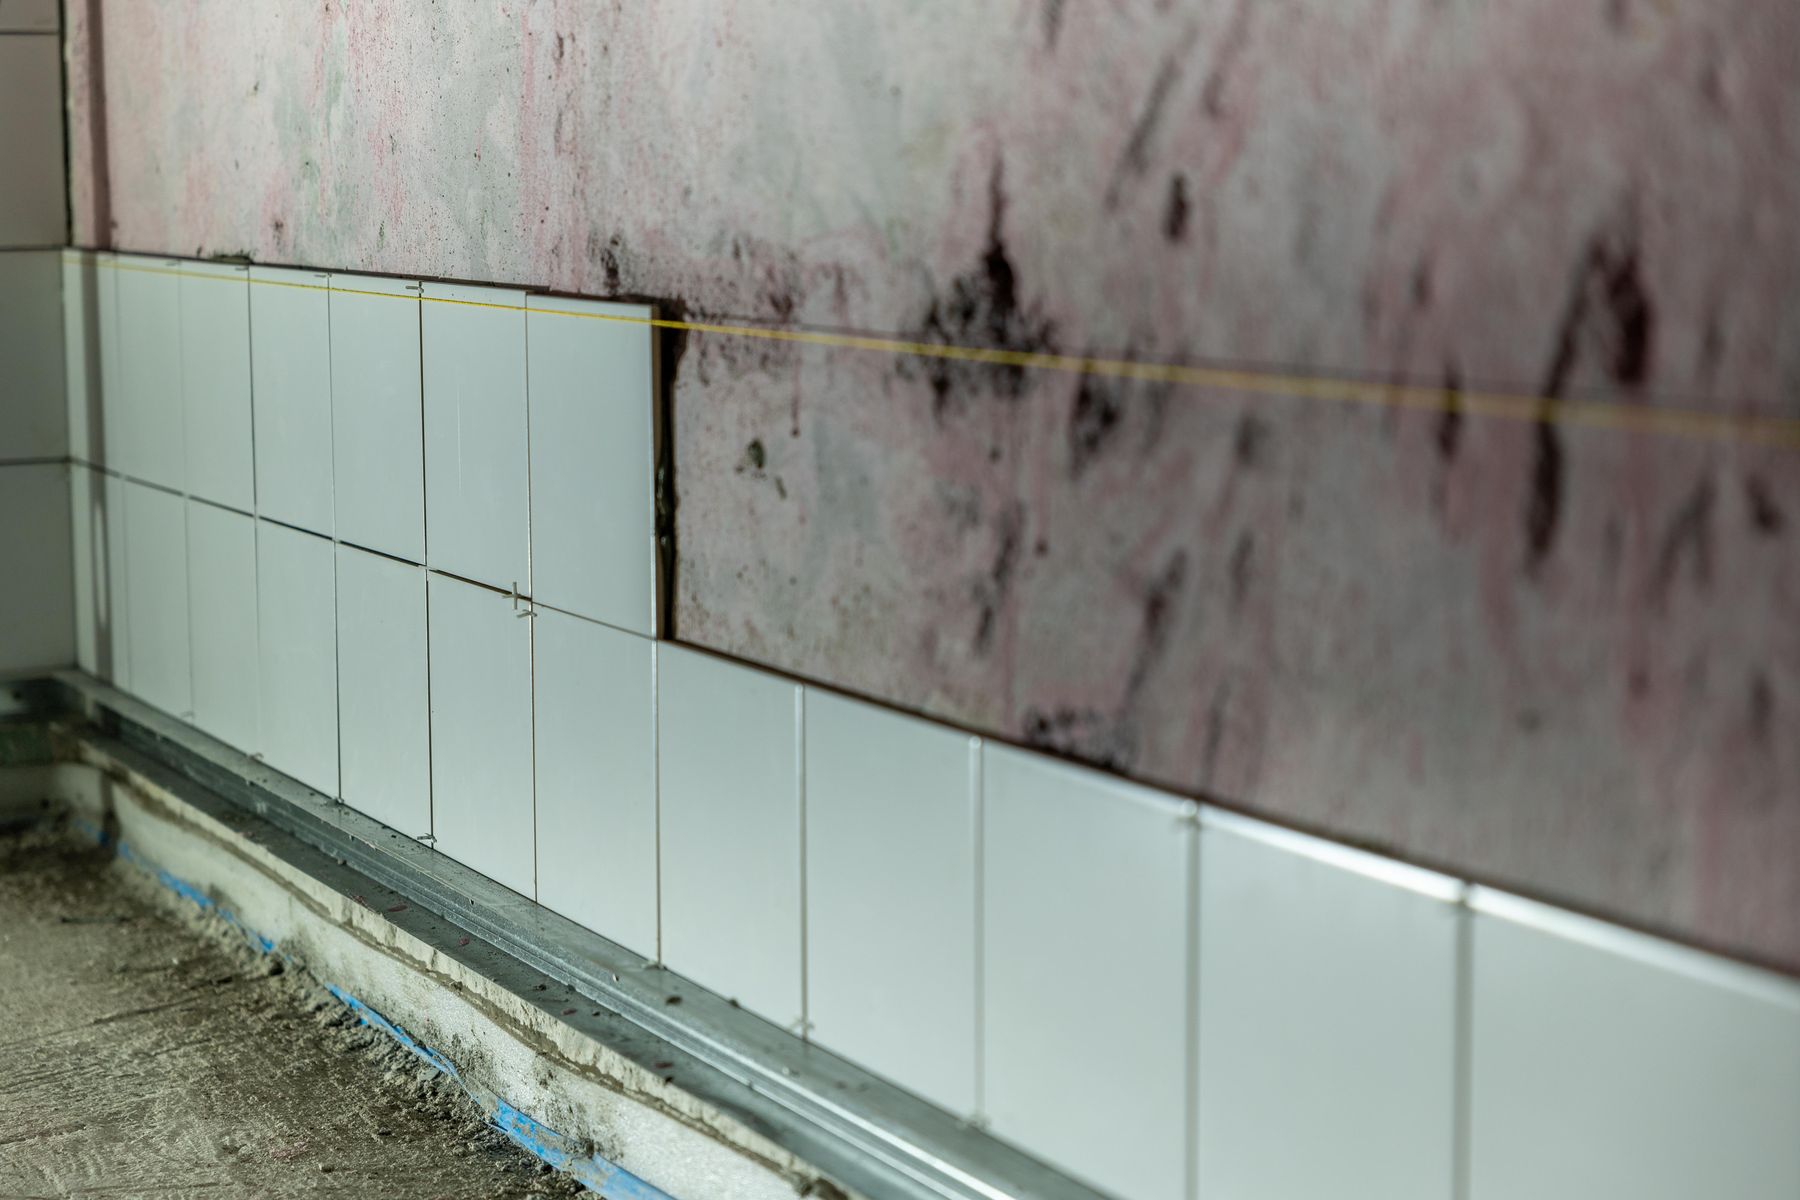
The wall above the tiling is where the story is: a substrate that has already been wet once. Everything a membrane does happens on surfaces that look like this, and is invisible a day later.
01 / MEMBRANE
Liquid-applied membranes are rolled or brushed on in coats. Sheet membranes are bonded down and lapped. Both do the same job: they form one continuous skin over the substrate, turned up the walls and dressed into every opening.
A membrane is a skin, not a coating
Tile and grout are not waterproof. Grout is porous, tile joints move, and silicone has a working life. The layer that actually holds water is applied directly to the sheeting and the screed — it is turned up the walls to a height that suits the fixture, dressed into the floor waste, and carried across every corner as one unbroken piece. If that skin has a gap, the rest of the build-up simply carries the water past it.
02 / FOUR ESCAPE ROUTES
Water leaves at the joins
A leak almost never begins in the middle of a wall. It begins wherever the membrane had to change direction, stop, or pass around something.
WALL-TO-FLOOR JUNCTION
The internal corner takes the most water and the most movement. It is reinforced, coated in both directions and checked for thickness, because a thin film pulled tight across a corner is the classic point of failure.
PENETRATIONS
Every hole cut for a mixer, rail, outlet or waste breaks the skin. Each one is sealed and dressed individually before the surrounding area is coated, so the membrane closes around the fitting rather than stopping at it.
HOBS & THRESHOLDS
Where the wet area ends, the membrane has to be turned up and returned. A shower with no hob shifts that responsibility onto the fall of the floor and the set-down.
03 / MOVEMENT
The corner has to be allowed to move
A house moves. Timber frames shrink, slabs settle, and the junction between a wall and a floor opens and closes by a fraction across a season. If the membrane is bonded hard to both surfaces at that corner, the movement tears it.
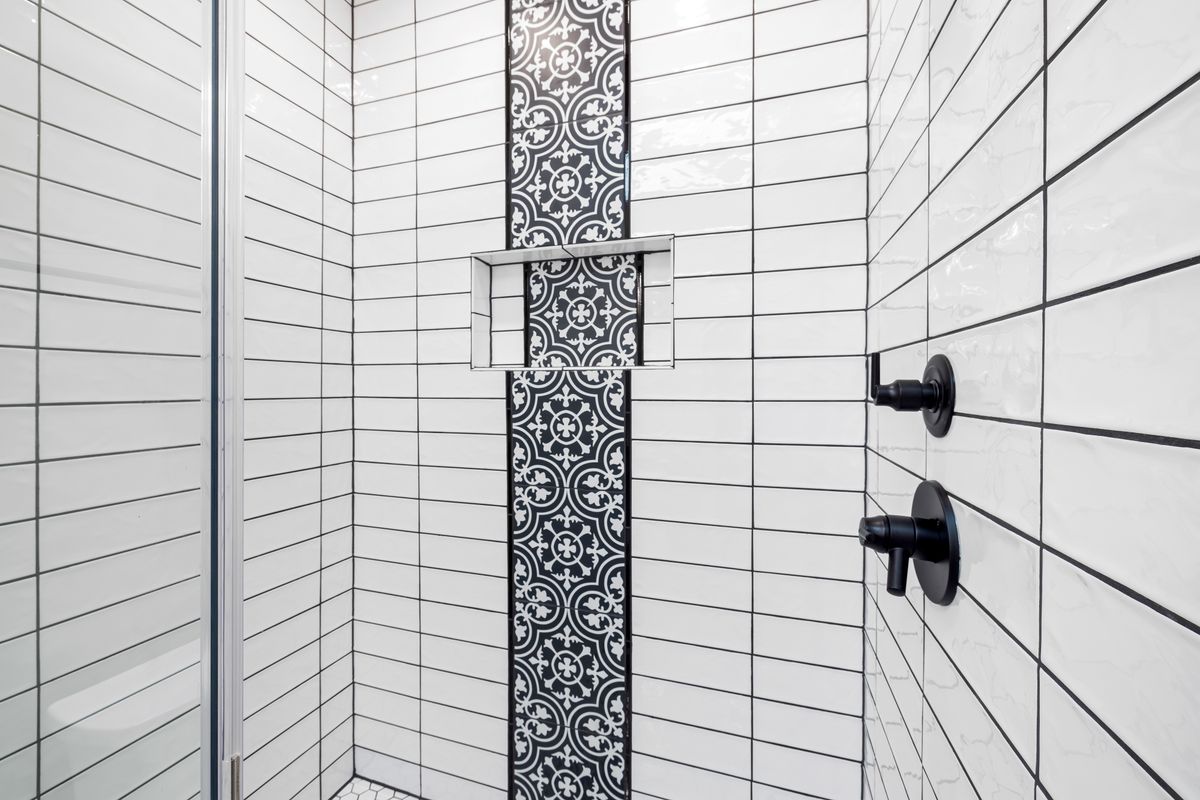
Reference frame: the finished surface gives away nothing about the corner detailing beneath it.
04 / CURE TIME
The waiting is part of the work
A membrane has to cure before anything is fixed over it. Coats go on in sequence, each one given time to form properly, and adhesive is only combed out once the skin has reached strength. Tiling early traps moisture in the layer and loads a film that has not finished becoming one — the failure it causes appears months later, somewhere the water was never spilled.
05 / BEFORE THE TILES GO ON
Five things worth looking at while the room is still open
01 The membrane is one continuous colour across the floor, up the corners and out onto the walls — no thin patches where the substrate shows through.
02 Every penetration has been sealed individually, and the floor waste is dressed into the membrane rather than sitting beside it.
03 The floor falls toward the waste before tiling, not after — a flat screed cannot be corrected with adhesive.
04 Internal corners look reinforced and slightly built up, not scraped thin.
05 Nobody is spreading adhesive on a membrane that was coated the same morning.
RELATED READING
Waterproofing — the service, start to finish
Bathroom Renovation Tiling — strip-out to finished tile
Tile Preparation — the work you never see again
Leaking Showers — signs, causes and options