A shower rarely fails where the water shows up
Damp skirting in the hallway, a stain spreading on the ceiling below, a door jamb swollen shut. The symptom appears at a distance from the cause, so the first job is finding which layer of the shower gave way — not guessing at the tile.
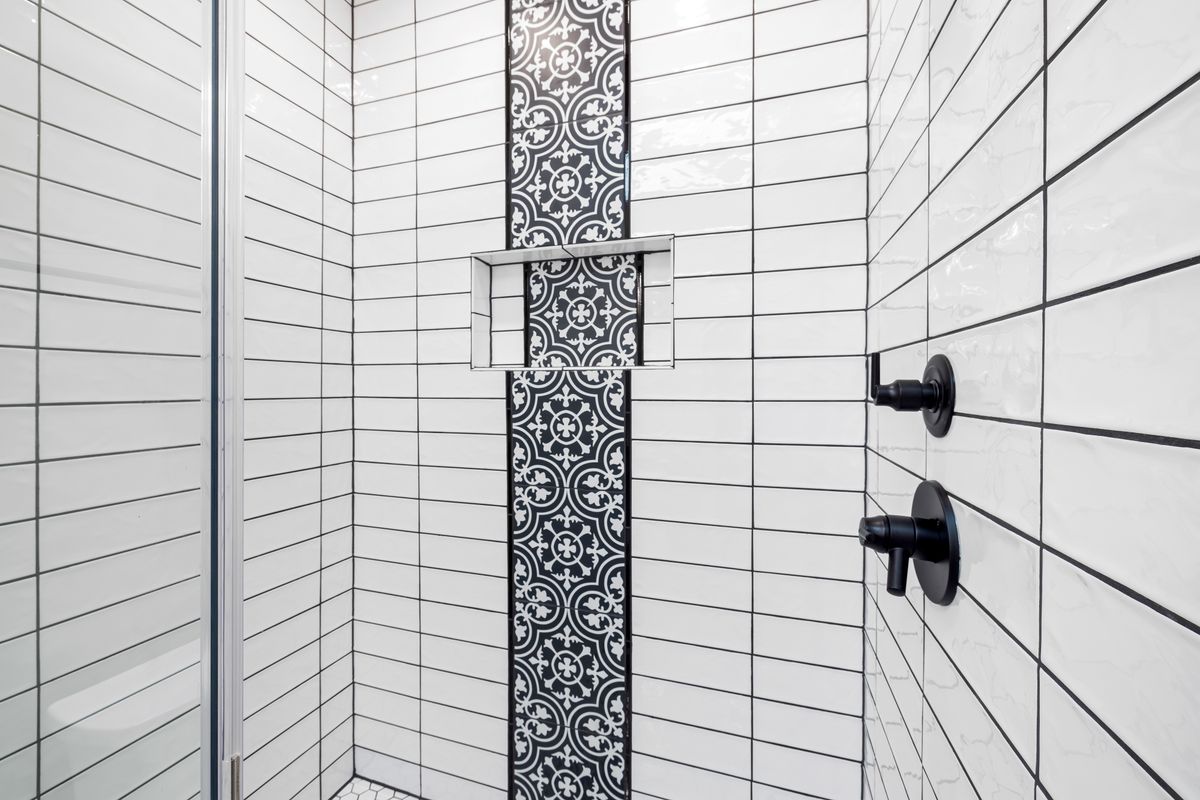
Reference photograph — a tiled shower enclosure with dark grout lines and corner junctions: the visible surface where the symptoms show, above the layers that actually decide whether water stays in the room.
SYMPTOMS WORTH ACTING ON
What people notice before they call
Skirting, carpet or floorboards damp on the far side of the bathroom wall
A stain on the ceiling of the room below, growing slowly rather than dripping
Paint peeling or a door jamb swelling near the bathroom doorway
White powdery efflorescence sitting in the grout lines of the base
Grout that stays dark for days after the shower is used
Silicone in the corners split, lifting or holding mould that keeps returning
None of these confirm the membrane has failed. They confirm water is leaving the shower somewhere it shouldn’t, which is enough reason to look properly before the substrate behind it softens.
HOW THE SOURCE IS TRACED
Surface first, then junctions, then the layers underneath. Each step rules something out, so the repair is chosen on evidence rather than assumption.
Working back to the layer that failed
An inspection starts with everything that can be seen and pressed: silicone at the wall-to-floor junction, grout across the base and the hob, the seal around the screen, the tap and rose penetrations, and the waste itself. Tiles are sounded for a hollow note, because a drummy area under a shower base is a route for water as much as a bond failure.
If the surface is sound, the question moves down the build-up. Water that reaches the frame, the sheeting or the slab is usually passing a junction the membrane never sealed properly, or arriving under the tile bed and running along the fall until it finds an edge. Where the shower sits over a timber floor, the room below tells you more than the bathroom does.
THREE REPAIR PATHS
Three repair paths, and the inspection decides which one
Each path works on a different layer — the surface joints, the tile bed around the waste, or the membrane under all of it. They are set out below in order of how much has to come apart, not as a menu to pick from.
Sealing and grout renewal
Targeted repair
Strip and re-waterproof
What a sound shower looks like afterwards
Grout consistent in colour and full to the tile edge. A single unbroken silicone bead at every change of plane, cut clean rather than smeared. Water leaving the floor to the waste without pooling at the hob. Nothing dramatic — the repair is judged on how ordinary it looks a season later.
Questions that come up first
Can a leaking shower be fixed without removing the tiles?
Often, yes — when the water is escaping through grout, silicone or a screen seal rather than past the membrane. Whether that applies is what the inspection establishes.
Will new grout stop the leak on its own?
Only if the grout was the path. Grout is not waterproof by design; it is a joint filler over a system that is. If the membrane below has failed, new grout hides the symptom for a while.
Is the damage in the room below related?
Usually, though the entry point can sit well away from the stain. Water follows the fall of the bed or a framing member before it appears, which is why the shower is checked as a whole rather than at the wet patch.
How long is the shower out of use?That depends on the path taken and the cure requirements of the products used — a silicone and grout renewal is a different timeline to a strip-out and new membrane. Both are confirmed with you before work starts.
Tell us what you're seeing
The stain, the smell, the soft skirting, how long it has been happening and whether the shower sits over a slab or a timber floor. That is usually enough to say what needs looking at first.
WHERE WE WORK
Murrumbeena, Carnegie, Hughesdale, Oakleigh, Chadstone, Malvern East, Bentleigh East, Ormond and McKinnon.