Kitchen splashbacks, set out from the bench upward
A splashback is a metre of wall that catches every reflection in the kitchen. It reads as finished work only when the setting-out, the cut-outs and the edge treatment are decided before the first tile is fixed.
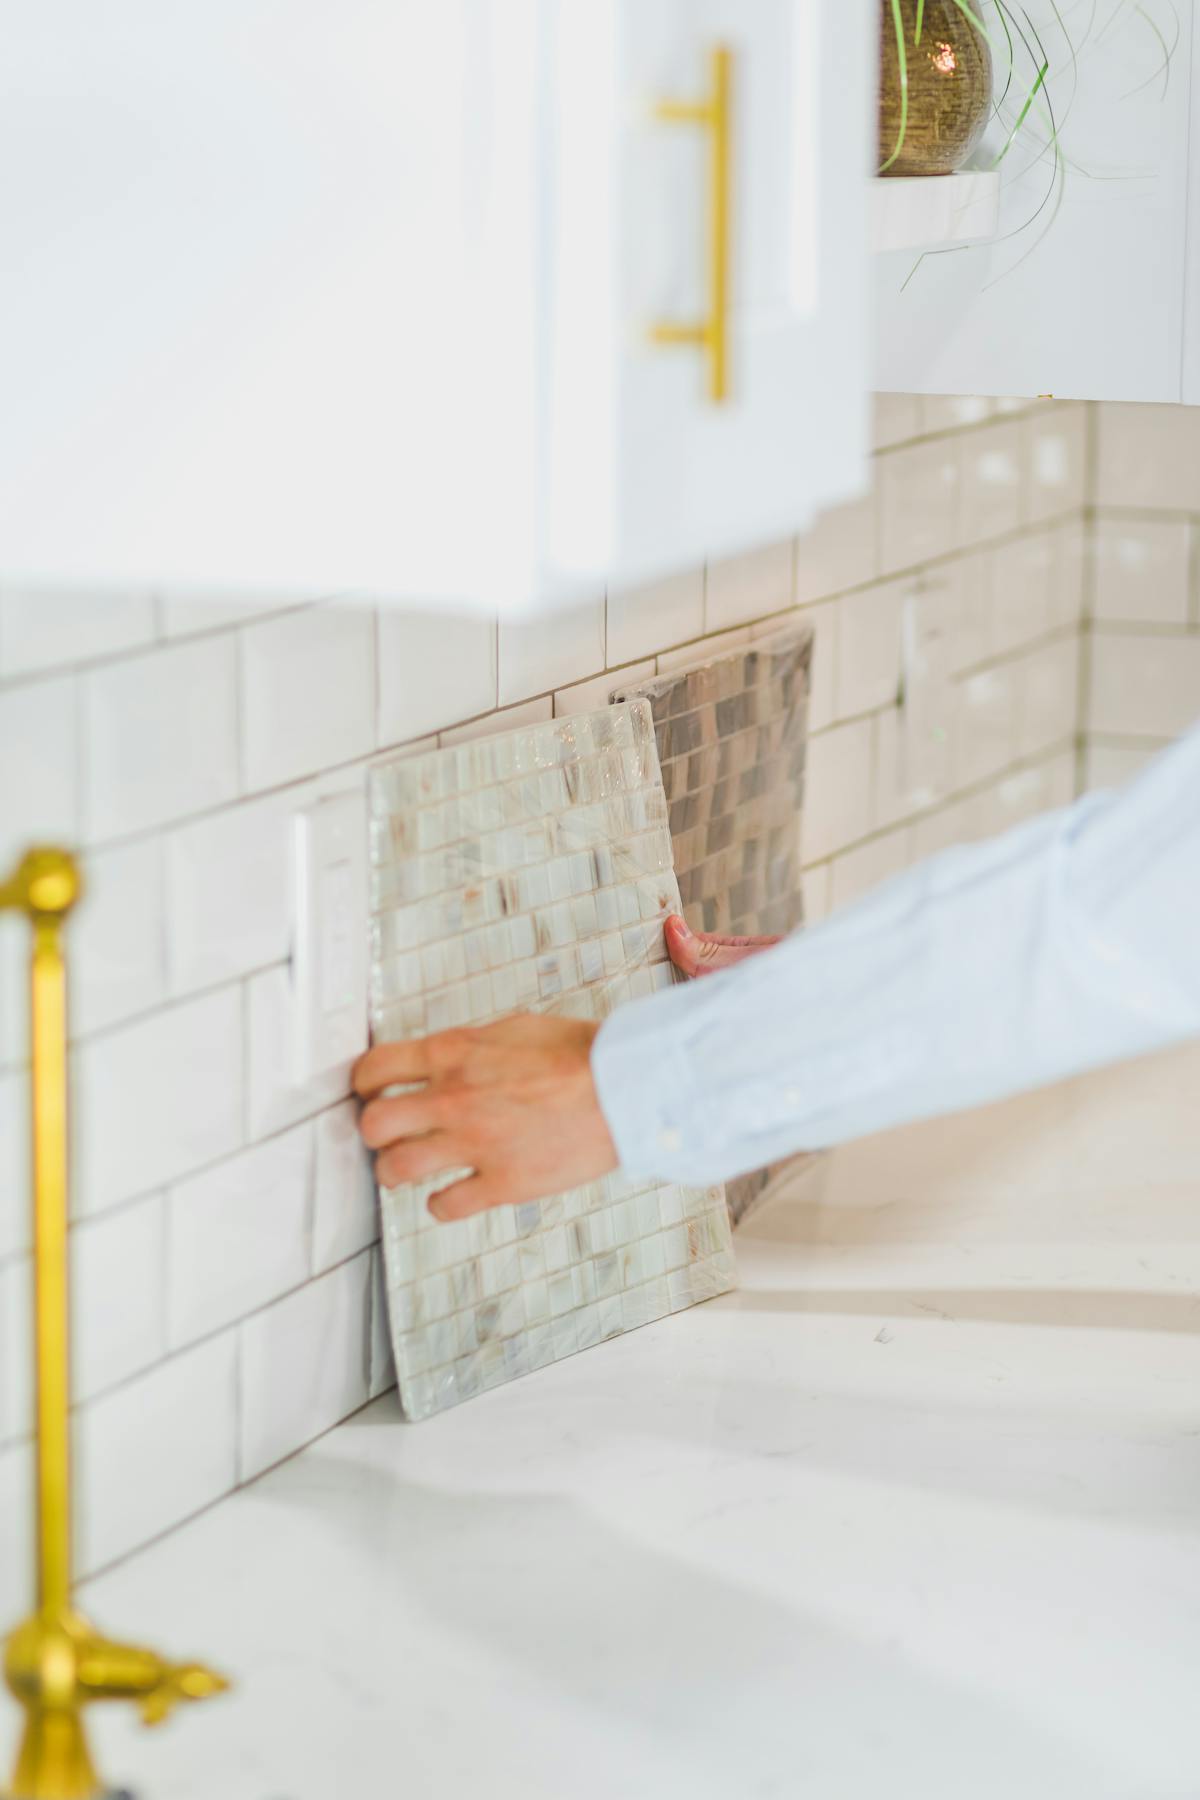
WHAT THE JOB COVERS
Mosaic sheets, subway and stacked formats
Slab-look porcelain with minimal joints
Cut-outs for power points, switches and rangehood fixings
Window reveals and returns to the end of a bench
Edge trims, mitred corners and silicone junctions
Grout colour sampled against the benchtop
Kitchens in Murrumbeena, Carnegie, Hughesdale, Oakleigh, Chadstone, Malvern East, Bentleigh East, Ormond and McKinnon.
SET OUT BEFORE ANY ADHESIVE IS MIXED
The top course decides how it looks
Most splashbacks are given away at the top. Start from the benchtop and work up without measuring the finished height, and the last course under the overhead cabinets ends as a sliver — a 20mm strip of tile that nobody intended and everybody sees.
The height between bench and cabinetry is measured first, divided by the tile and its joint, and the difference absorbed where it will not be noticed: a slightly deeper cut at the bench line, a course adjusted behind the cooktop, or a format chosen that lands cleanly in the space available. Vertical setting-out matters just as much — joints are aligned to the cooktop centre or to a window reveal rather than run blind from a corner, so the pattern arrives at the visible end of the run in one piece.
Where a splashback is actually judged
Power points, switches and rangehood fixings land mid-run. They are marked off the cabinetry and the tile layout together, cut with a wet saw or hole cutter, and sized so the plate covers the opening comfortably rather than the plate being asked to hide a rough edge.
Every splashback has to stop somewhere: a window reveal, a return at the end of a bench, an external corner. Mitred tile, a slim trim or a clean cut arris — chosen deliberately, not improvised on the day. Grout is then sampled dry against the benchtop, because that single line either quietens the wall or draws it.
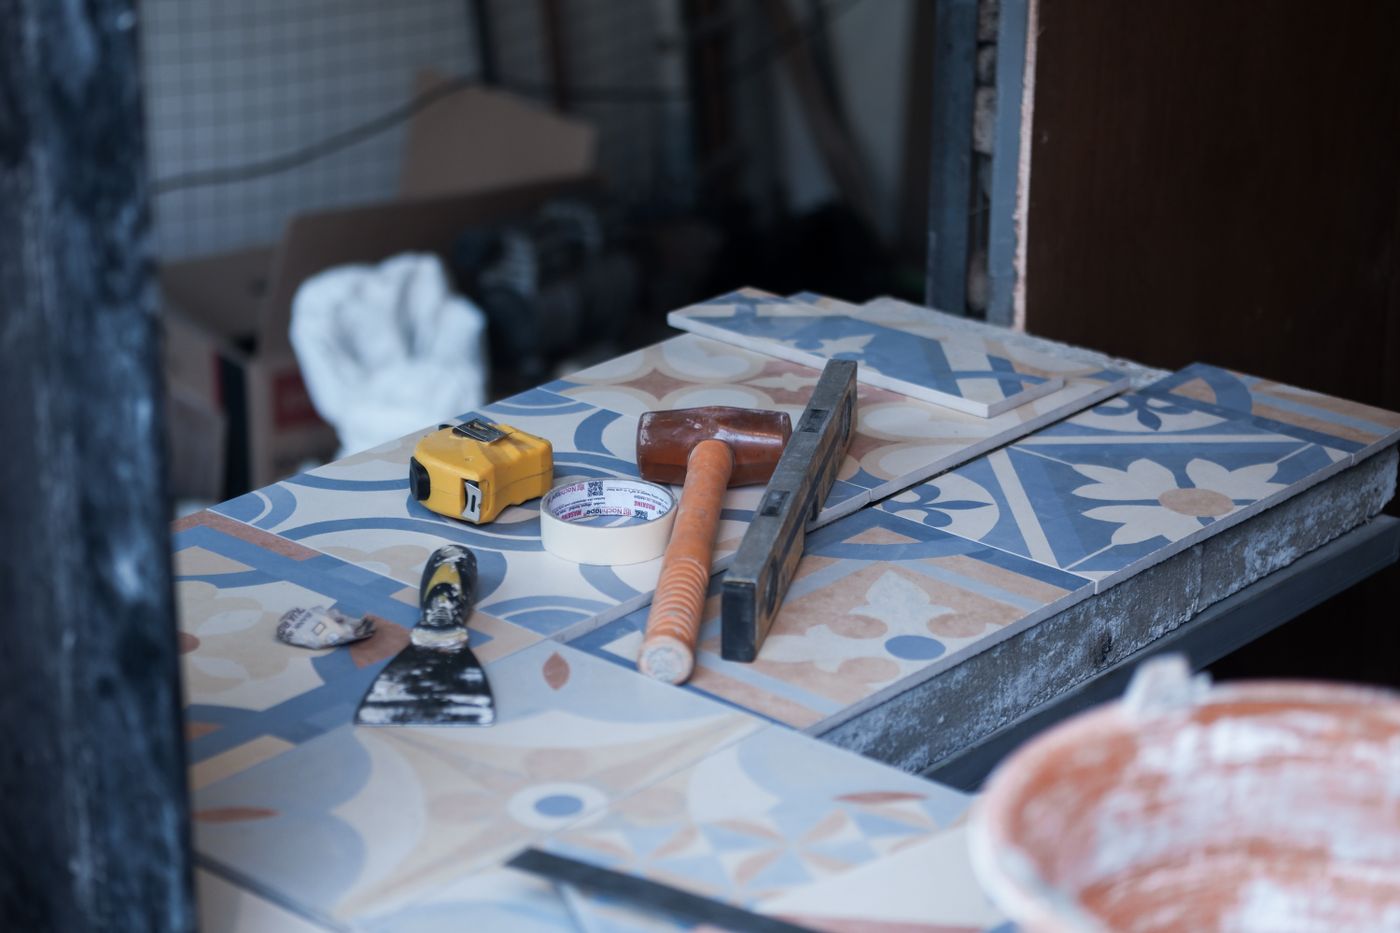
Preparation: a flat wall, then a splashback
Splashback tile is thin and the bed behind it is shallow, so there is nowhere to bury a bow in the wall. The substrate is checked with a straightedge before anything is fixed, and hollows are filled rather than packed out with adhesive.
Where old tile, mirror or laminate comes off, plasterboard usually comes with it. That sheeting is patched or replaced, joints are set, and the wall is primed so the adhesive bonds to a sound face. The same care applies to a kitchen that is staying put: benchtops and cabinetry are protected, cutting is kept contained, and the run is completed without the rest of the room becoming a building site.
Common questions
Can a splashback be tiled without renovating the kitchen?
Yes — this is the most common version of the job. Benches, cabinetry and appliances stay in place, the old surface is removed, the wall is made good, and the new tile is set out to the existing cabinet line.
Does a kitchen splashback need waterproofing?
Mosaic, subway or a slab-look panel?
One tile has chipped — does the whole splashback come off?
CONTINUE THROUGH THE SECTION
05/11 Floor Tiling — the kitchen floor the splashback sits above
06/11 Large Format Tiling — slab-look panels and flatness tolerance
10/11 Tile Repairs — chipped, drummy or lifting tile
READ Kitchen Splashbacks: Layout, Cut-Outs and Finishing Details
ALL Services hub — eleven services, layer by layer
Send the kitchen, not just the wall
A photograph of the run, the height between bench and cabinetry, and what is on the wall now is usually enough to talk sensibly about tile format, cut-outs and the order of work.