GUIDE — LAYOUT, CUT-OUTS AND FINISHING
A kitchen splashback is mostly edges — and edges are where it shows
A splashback is a shallow band of wall interrupted by power points, a rangehood and two cabinet ends. Tile choice gets the attention; setting out, cutting and the finishing details decide how it actually reads.
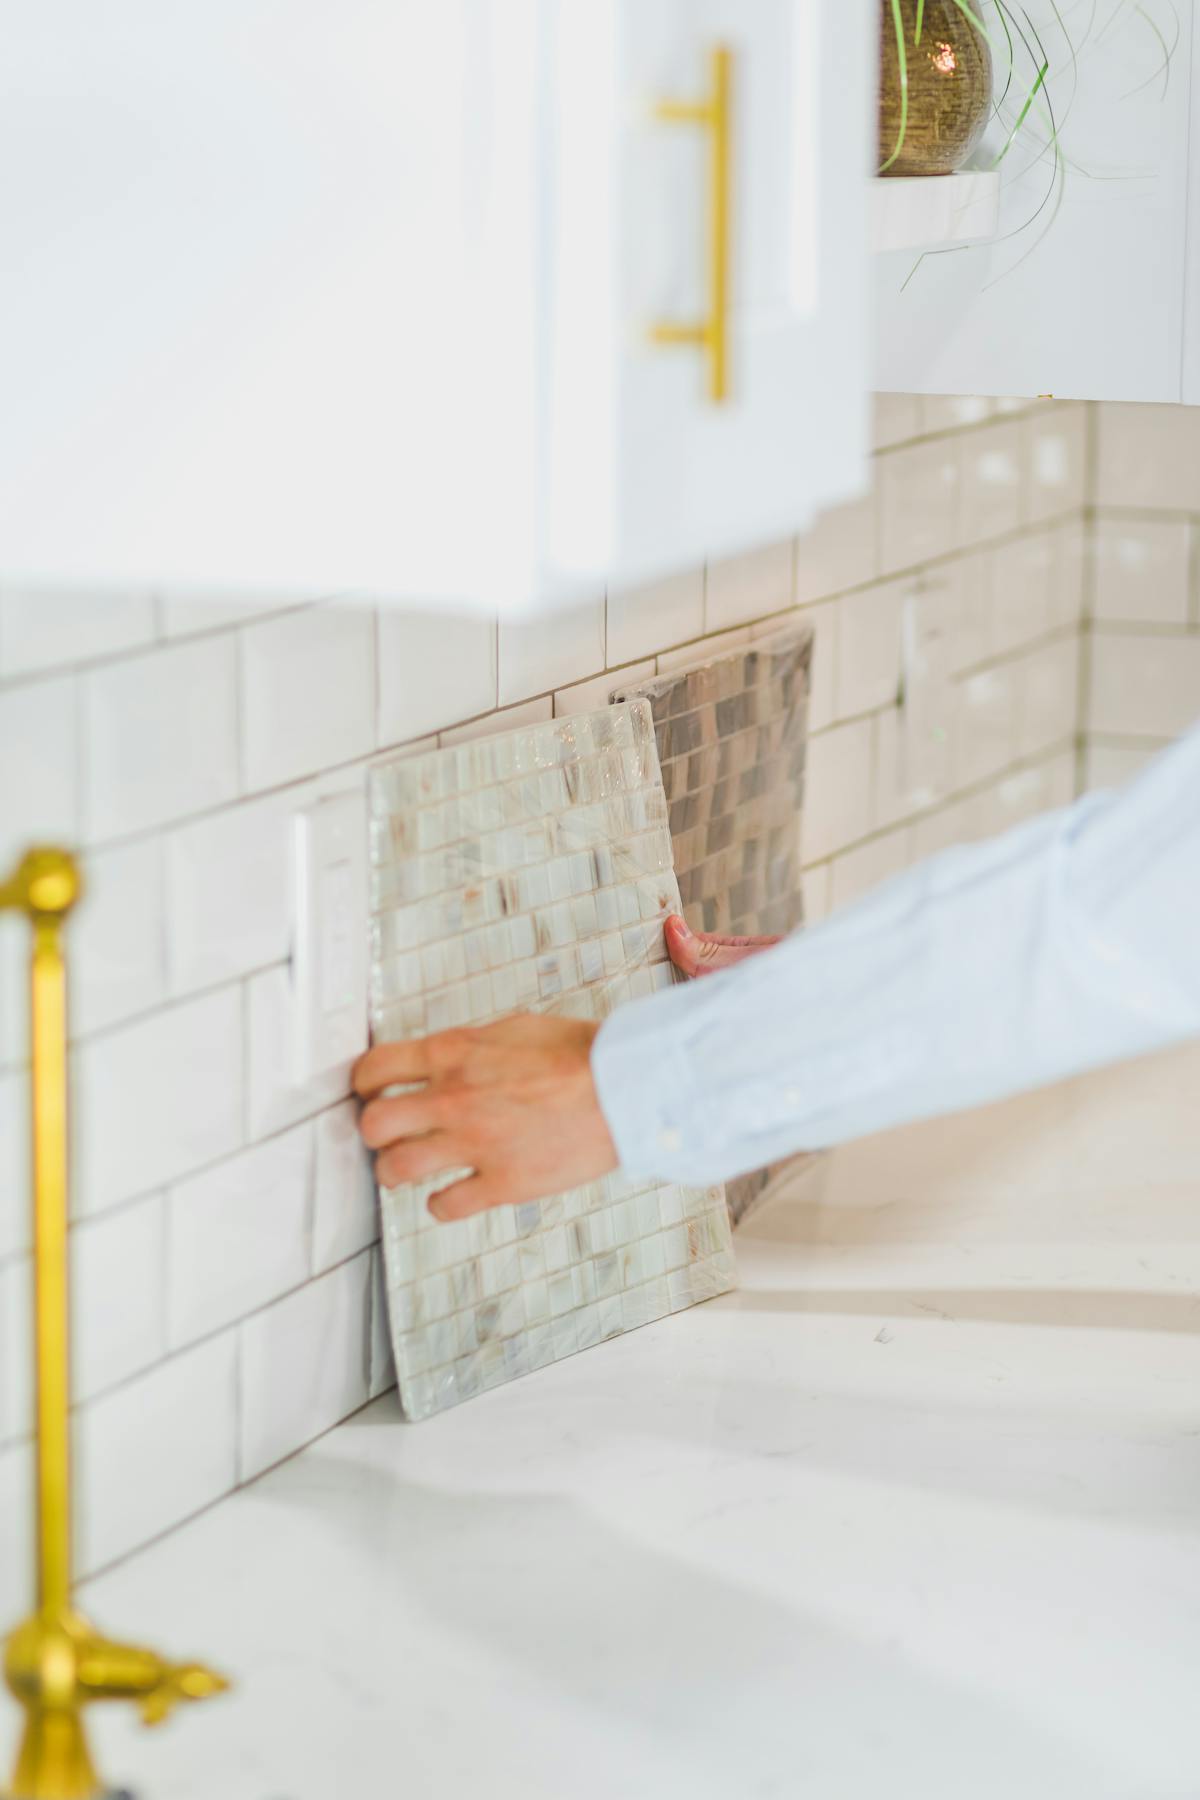
01 — SETTING OUT
The starting line is the benchtop. Everything above it is consequence.
Set out from the bench, not the ceiling
The run between a benchtop and the underside of the overhead cabinets is shallow — often only a few courses of tile. That makes one decision disproportionately important: where the first course sits. The bottom course is set tight to the bench with a flexible joint behind it, and course heights are worked upward from there so that any part-tile lands where the overhead cabinet or the rangehood conceals it, rather than as a thin sliver across the most visible line in the kitchen.
The horizontal setting-out matters just as much. Ends that stop at an open shelf, a window return or the edge of a run are planned so a full tile carries the visible face and the cut is pushed into a corner. In a galley kitchen with two facing runs, the two setting-outs are checked against each other so the joints read level across the room.
FORMAT — MOSAIC AND SMALL TILE
Format and orientation change a small run completely
Mosaic sheets read as texture. They are joint-heavy, so grout colour does most of the visual work, and the sheet edges have to be staggered and adjusted by hand or the underlying grid telegraphs across the wall in raking light from a window.
FORMAT — SUBWAY AND RECTANGLES
The same rectangle behaves differently depending on how it is laid. A half-offset bond is quiet and forgiving. Stack bond is sharper and unforgiving of any wall that isn’t straight. Turned vertical, a standard tile lifts a low splashback and makes a short run feel taller than it is.
FORMAT — SLAB LOOK
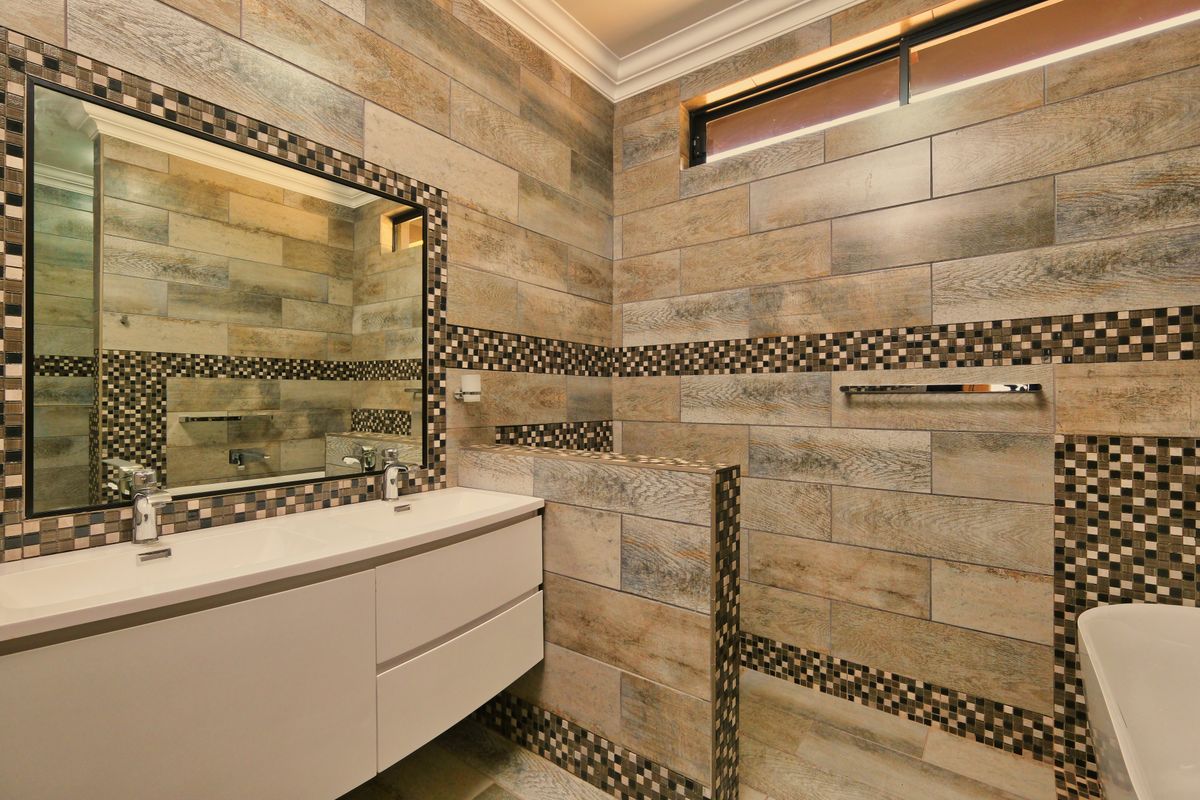
Wall tile repays a flat substrate: long formats and continuous joint lines only stay even when the surface behind them was checked and corrected first.
02 — THE WALL BEHIND IT
The wall behind it is flattened before anything is cut
The bigger the tile, the less the wall is allowed to move. A plaster surface that looked fine under paint can carry a gentle hollow that a large panel will bridge and a mosaic sheet would have followed unnoticed. Checking the substrate with a straightedge, then levelling or packing where needed, is what keeps the finished face flat and the joints even.
03 — CUT-OUTS AND PENETRATIONS
Every hole in a splashback is a finishing decision
01 Power points and switches. Ideally the setting-out places them centrally in a tile or symmetrically across a joint. Where the position is fixed, the cut is kept tight and square so the faceplate covers it without gaps at the corners.
02 Rangehood and cooktop zone. The tallest part of the run, and usually the one people look at. Tile is carried behind the hood rather than stopped at its edge, and the course heights are planned so the cut meets the hood cleanly.
03 Window returns and open ends. Exposed edges are finished with a mitre, a trim or a glazed edge depending on the tile. The choice is made before fixing starts, because it changes how much tile has to be cut and in which direction.
Grout colour is read against the benchtop, not the tile
A matched grout makes a splashback read as one surface and lets the benchtop and cabinetry lead. A contrasting grout turns the same tile into a drawn grid, which suits a simple rectangle and overwhelms a busy stone. Samples are worth holding against the bench and the cabinet door in the kitchen’s own light rather than judging from a chart, because a grey that looks neutral in a showroom can go green or lilac beside a warm timber front.
THE JOINT THAT ISN’T GROUT
Where the tile meets the benchtop, and where it meets a return wall, the junction is sealed with a flexible bead rather than grout. Bench and wall move independently — grout in that line cracks, then lets water sit against the substrate. A clean silicone bead in a colour chosen to match the grout keeps the detail invisible and the joint serviceable.
04 — RETILING AN EXISTING KITCHEN
Replacing a splashback around a kitchen that stays in use
Taking off old tile without damaging the benchtop, the cabinet fronts or the plaster behind is the slow part. Benches are protected, power is isolated before any cut-out is touched, and the wall is made good and checked for flatness before new tile goes anywhere near it. It is a short job in tiled area and a careful one in everything around it — and worth pairing with any loose or cracked tile elsewhere in the kitchen while the tools are already out.