GUIDE — THE ORDER WORK HAPPENS IN
A bathroom renovation is a sequence, not a shopping list
Most of what goes wrong in a renovated bathroom is a timing problem, not a taste problem. Each stage buries the one before it, so the order the trades work in decides what can still be changed and what is already permanent.
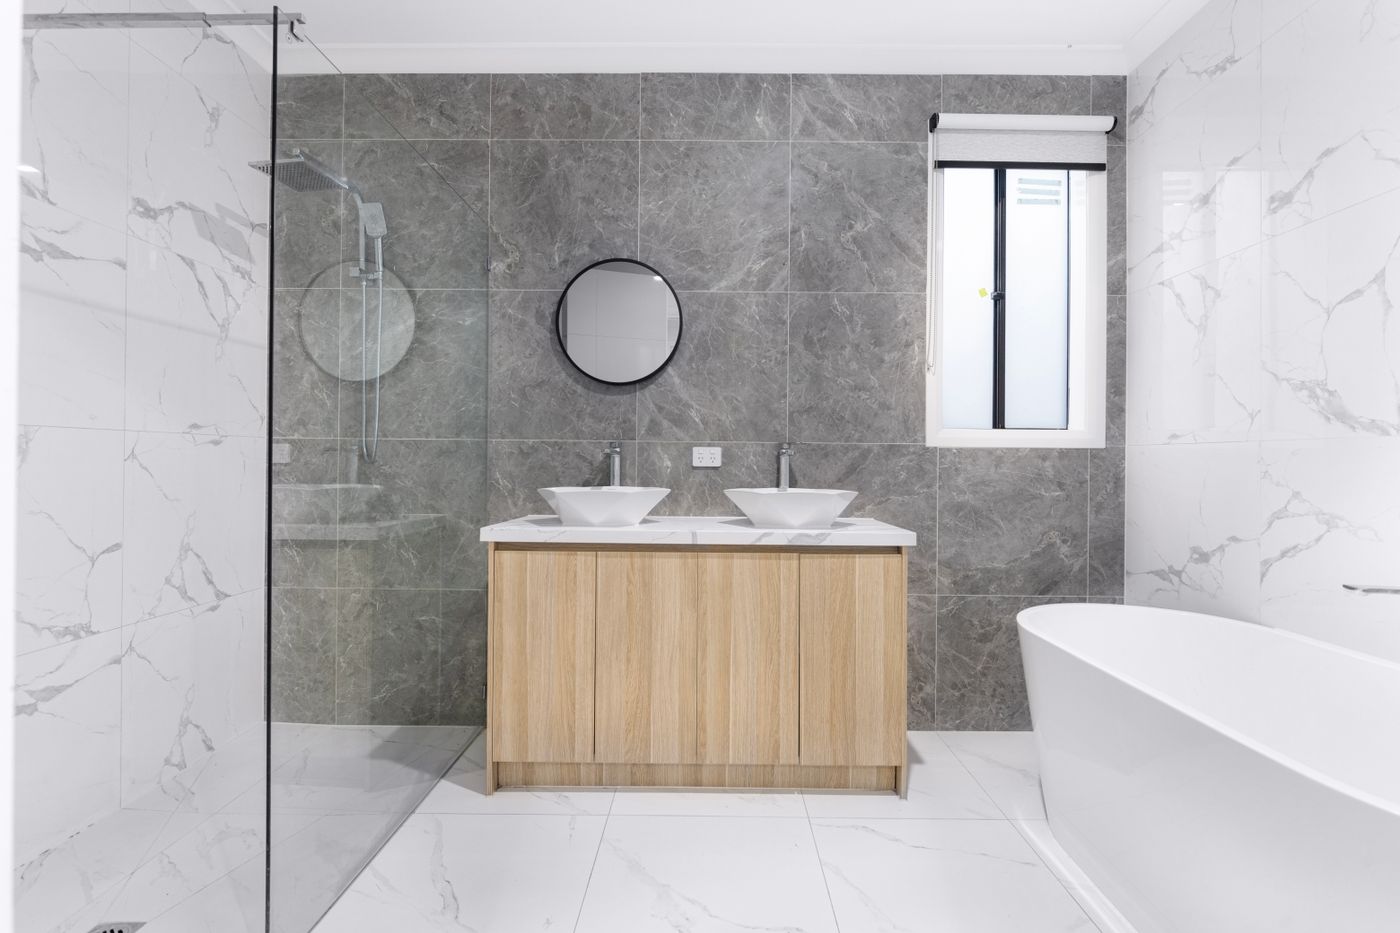
Reference photograph — a finished bathroom, where tile sizes, grout colour, niche positions and floor height were all settled long before the first tile was fixed.
SETTLED BEFORE TILING STARTS
Tile sizes and finishes for wall, floor and shower base
Grout colour, and where the joint changes to silicone
Niche and bench positions, with their internal sizes
Waste location and the direction the floor will fall
Tapware, outlet and rail heights set out on the wall
Screen type — framed, semi-frameless or frameless
Finished floor height at the doorway junction
None of these are cosmetic afterthoughts. Each one changes something structural that happens several stages earlier.
WHY IT CAN’T BE SHUFFLED
Every stage of a wet area is covered by the next one. Work done out of order has to be uncovered to be corrected — which means removing something already finished.
The build-up only runs one way
A finished bathroom is a stack of layers, and each layer depends on the one underneath being right. The screed sets the fall toward the waste; the membrane follows that fall; the bond coat sits on the cured membrane; the tile sits on the bond coat. Reverse any two of those and the layer above inherits the fault.
Six stages, in the order they happen
01 Strip-out. Tiles, screed, old membrane and any damaged sheeting come out, back to frame or slab where needed.
02 Reading the opened room. Rot, movement, a slab that dishes away from the waste, or framing that was never straight — this is when the real scope is known.
03 Plumbing and carpentry. Rough-in, waste position, niche and bench framing, then new sheeting fixed flat and primed.
04 Screed and falls. The floor is built to drain toward the waste, with the hob and threshold heights fixed at the same time.
05 Waterproofing and cure. Junctions and penetrations detailed, coats applied, then left alone until cured. Nothing is fixed over a membrane that is still green.
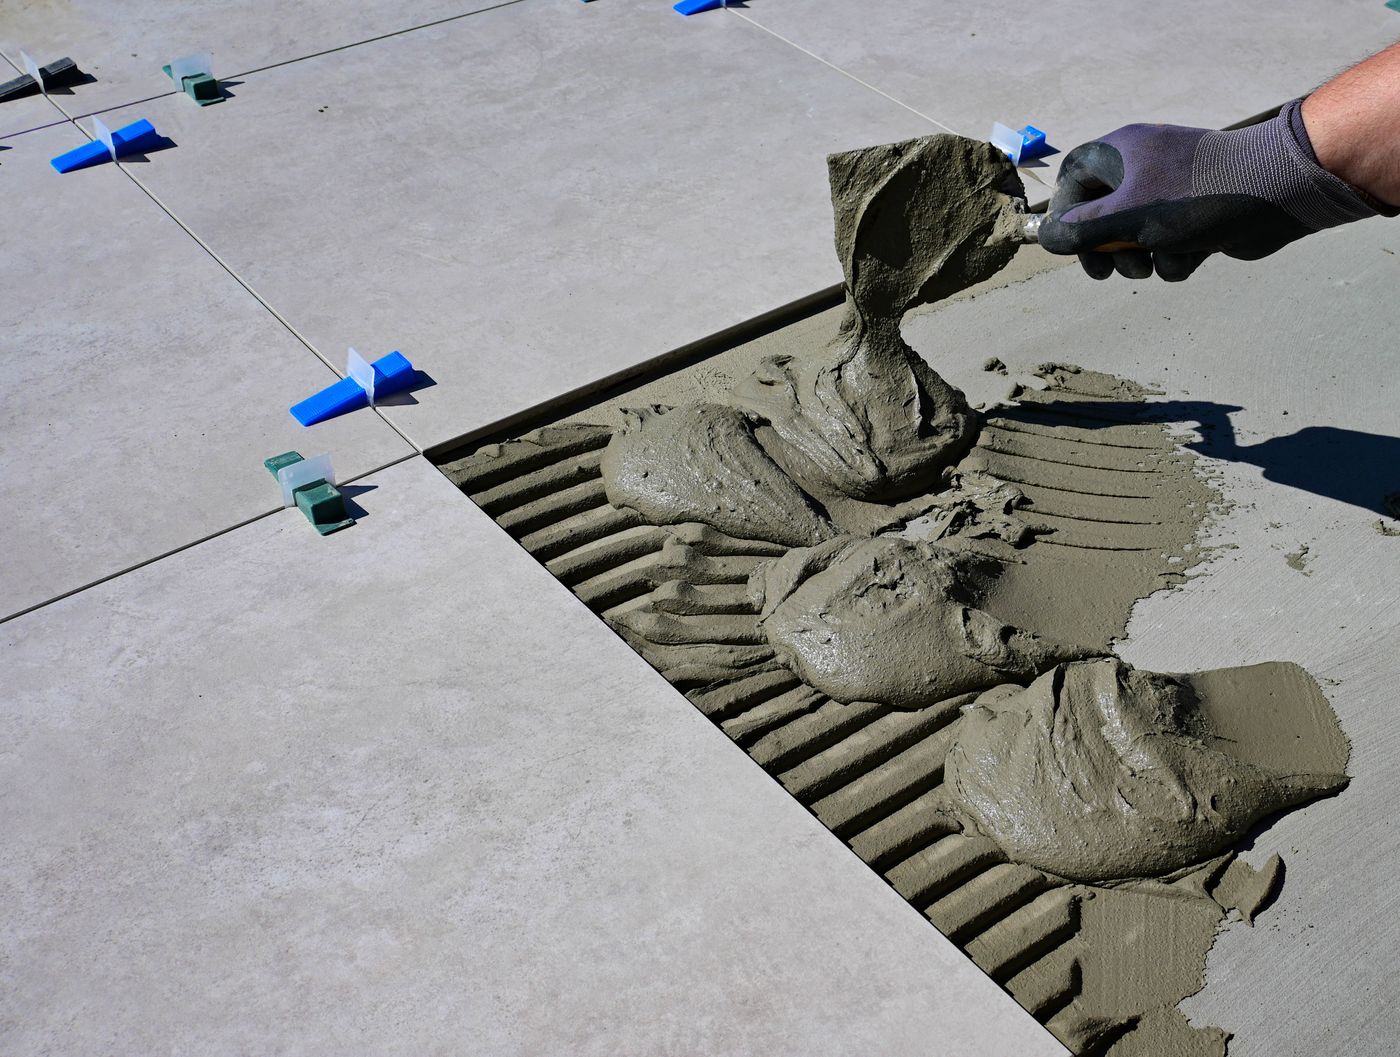
06 Tiling, grout and silicone. Walls and floor set out from the most visible line, then grouted, with movement junctions finished in silicone rather than grout.
PAST THE POINT OF CHANGE
Three things that are genuinely permanent once passed
WASTE POSITION AND FALL
Where the water goes is decided in the screed, under the membrane. Moving a waste afterwards means lifting the floor build-up entirely — screed, membrane, bed and tile. Decide the shower position and drain type before stage four, not when the screen is measured.
NICHES AND BENCHES
A niche is framing, sheeting and membrane before it is a tiled shelf. Its internal height should suit the tile module so the shelf doesn’t land on a sliver cut. Once the wall is closed and waterproofed, the opening is fixed.
FINISHED FLOOR HEIGHT
Screed plus membrane plus bed plus tile sets the level at the doorway. Change tile thickness late and the threshold, the door clearance and the step into the hallway all move with it.
The tiling itself is the shortest part
MURRUMBEENA, VICTORIA