SECTION INDEX
01/11 Bathroom Tiling
03/11 Waterproofing
05/11 Floor Tiling
06/11 Large Format Tiling
10/11 Tile Repairs
Floor tiling starts with a flat, sound, primed floor
Hallways, living areas, kitchens and laundries across Murrumbeena and the surrounding south-east suburbs — levelled, primed, set out from the sightline that matters, and fixed with full adhesive contact so nothing sounds hollow later.
DRUMMY UNDERFOOT
Voids beneath a tile concentrate load at the edges and corners. In most cases the tile breaks before the bond does, which is why the crack gets blamed for a problem it only reported.
A hollow-sounding floor is a bond problem, not a tile problem
Tap a tiled floor with a knuckle and the sound tells you what is underneath it. A short, dead note means the adhesive is in full contact with both the tile and the substrate. A hollow ring means voids — usually adhesive combed too thin for the tile size, a bed that skinned over before the tile was placed, or a substrate that moved after fixing.
THE SEQUENCE
From bare substrate to a floor you can walk on
Four stages in a fixed order. Skipping one rarely shows on the day — it shows months later as a lipped joint, a cracked tile or a grout line that opens along a wall.
STAGE ONE
Levelling and priming
High spots ground back, hollows patched, and self-levelling compound where an older slab has wandered out of plane. Primer then seals the surface so the adhesive cures properly instead of drying out into it.
STAGE TWO
Setting out
Layout is decided from the line you actually see — the hallway run, the doorway you enter through, the longest wall. Cuts are pushed to the edges so the pattern resolves at thresholds.
STAGE THREE
Fixing and levelling
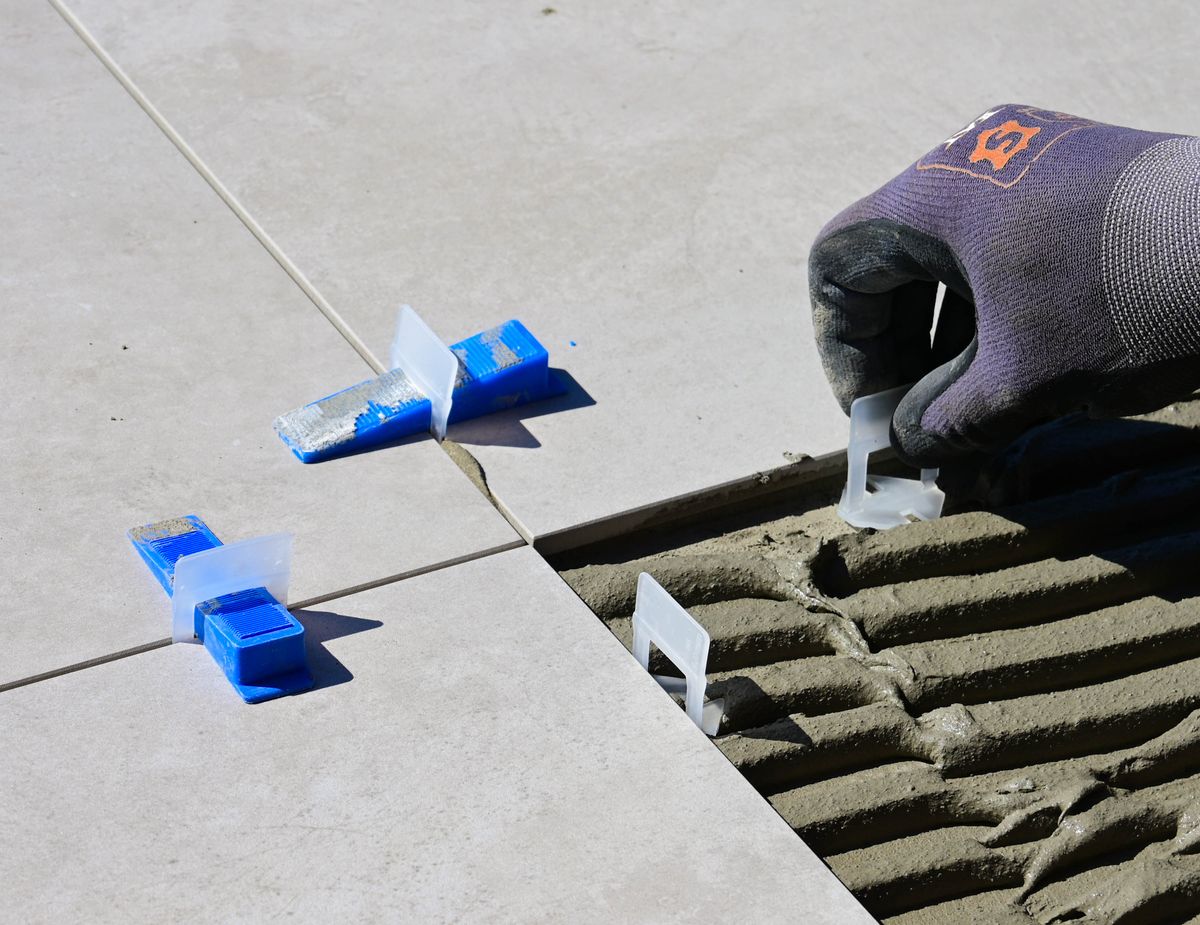
A notch sized to the tile, back-buttering where the format asks for it, and a levelling system holding neighbours flush while the bed sets. Ridges get collapsed, not left standing as ribs.
STAGE FOUR
Joints and perimeters
Movement joints at perimeters, doorways and changes of substrate — left open and sealed, never grouted solid.
REFERENCE FRAME
Levelling spacers set between light-coloured floor tiles as they go down. The adhesive is combed to suit the tile, and each tile is pressed down and back so the ridges close rather than trapping air under the middle.
Grout, traffic and where the floor meets everything else
Grout on a floor is a traffic decision before it is a colour one. Narrow joints read cleaner but leave less tolerance for variation across pressed tiles; a slightly wider joint absorbs that variation and stays straight down a long hallway. A kitchen or laundry floor wants a dense grout that copes with cleaning products, and the junction where tile meets a wall, a cabinet kick or a timber threshold is sealed with silicone rather than grouted rigid.
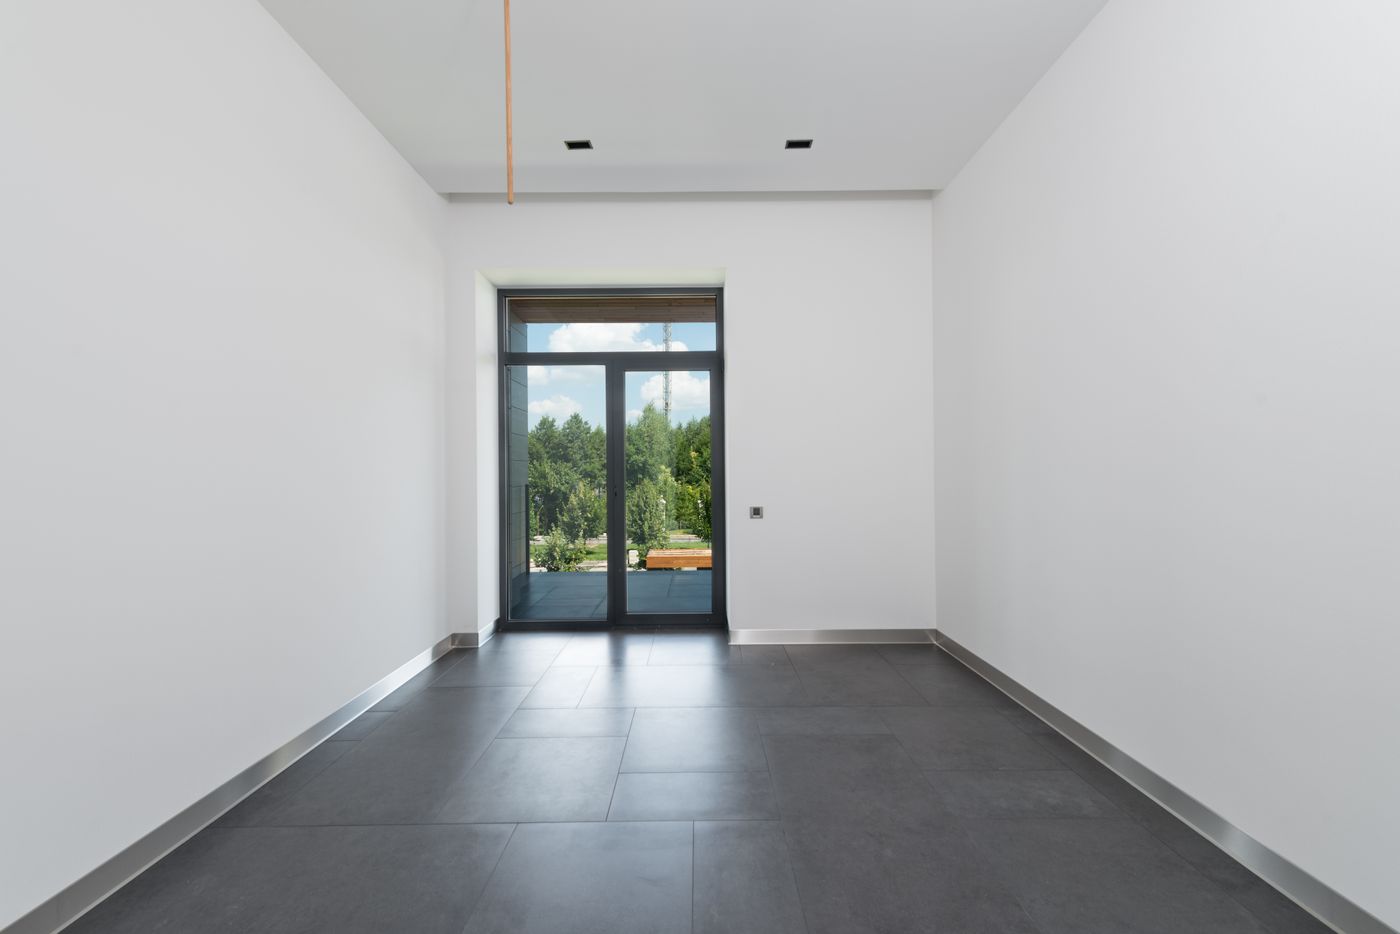
A finished interior floor: joints running true to the door line and the perimeter left free to move.
ASKED ON SITE
Three questions that decide a floor
Can you tile over an existing tiled floor?
Sometimes. The existing floor has to be sound, fully bonded and flat, and the extra height has to still work at doors, thresholds and any step down. If a knuckle test finds drummy areas, that section comes up rather than gets buried.
How soon can the floor be walked on?
Adhesive cure and grouting are separate stages, and the wait between them depends on the product, the substrate and the conditions in the room. We set that sequence on site and tell you the plan for your floor rather than quoting a number that suits every job.
Porcelain or ceramic underfoot?
NEXT