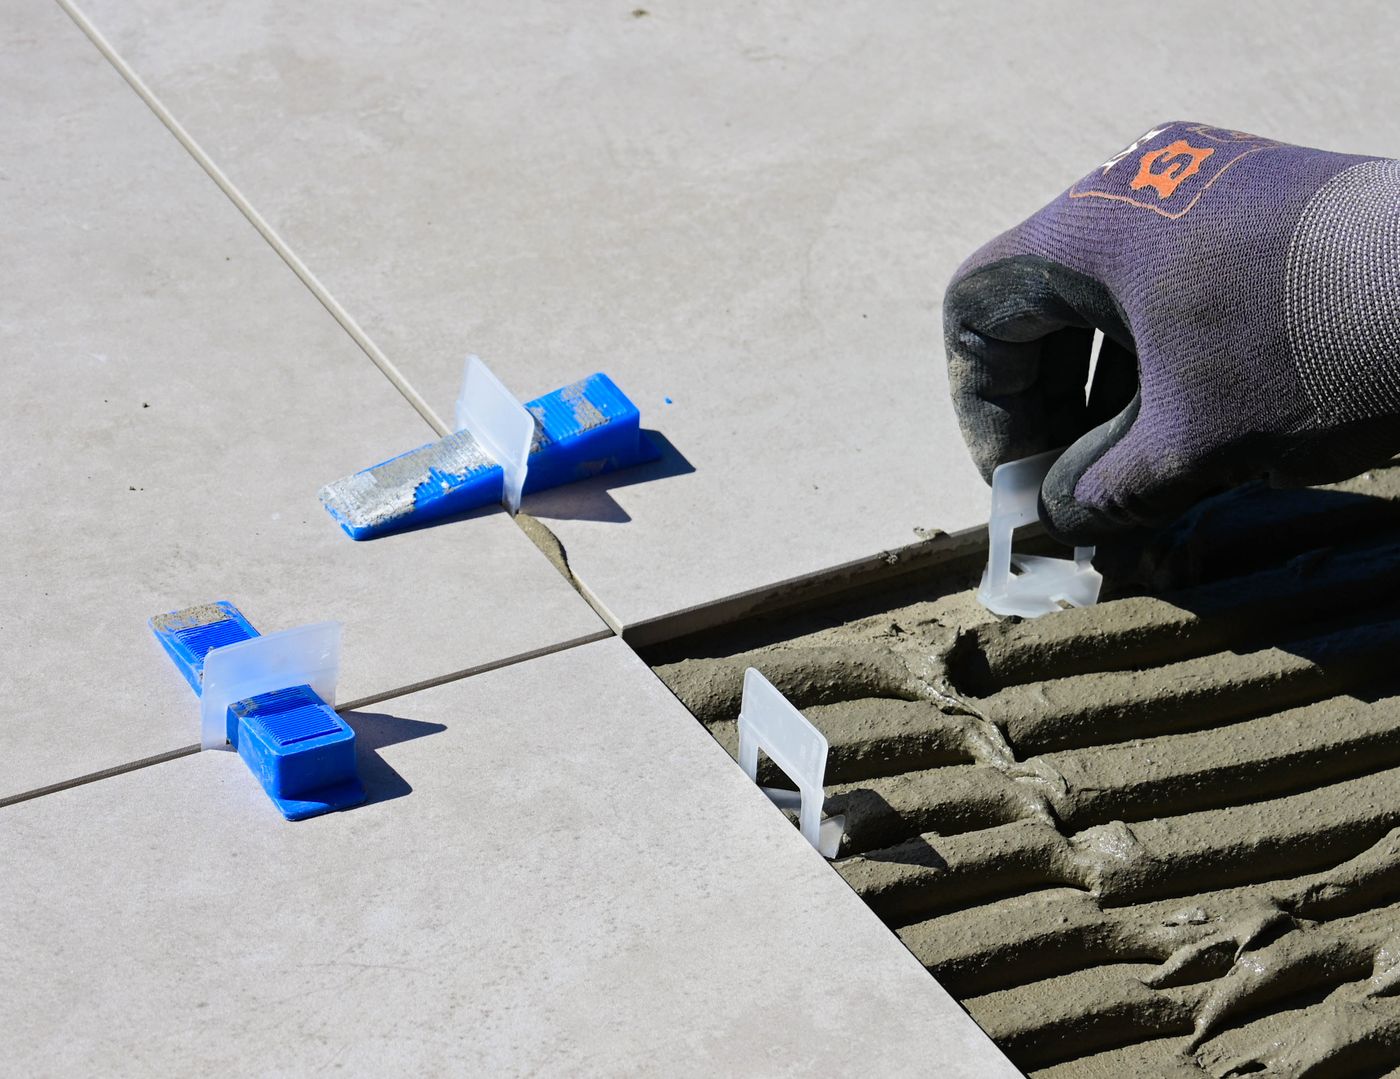
Reference frame: floor tiles being set on ridged adhesive with levelling spacers — the bed beneath a finished floor, and the layer most cracked or drummy tiles are actually reporting on.
GUIDE — READING TILE FAILURE
Cracked, drummy or lifting tiles: reading the cause
A damaged tile is evidence, not the fault itself. Before anything is cut out, the pattern of the damage tells you whether the bed, the substrate or a missing joint is the thing that actually failed.
Do it before anything is lifted. Once a tile is out, the sound map of the floor goes with it and the extent of the problem becomes guesswork.
The first diagnosis is made with a knuckle
Run a knuckle across the floor and listen. A tile still bonded to its bed answers with a dull, solid note. A tile that has lost contact answers hollow — drummy, in trade language. Keep tapping outward until the note goes solid again, and mark that boundary.
The boundary matters more than the tile that first caught your eye. One hollow tile in a sound field is a local repair. A hollow note that carries across half a room means the adhesive never gripped properly, and replacing individual tiles simply moves the failure a metre to the left.
02/05
What the pattern is telling you
A crack in a lineA single cracked tile is usually impact. A crack running straight through three or four tiles in a row is the floor moving and the tile taking the strain — commonly a missing movement joint at a doorway or perimeter, or a substrate joint telegraphing through. Replace only the tiles and the line returns.
Lifting at a perimeterTiles that tent or lift near a wall are under compression. The field has nowhere to expand because the perimeter gap was packed solid with grout or adhesive. Relieving the edge is the repair; gluing the tile back down without it guarantees a repeat.
Chipped edgesChipping along joints points to voids under the rim — adhesive combed but never collapsed, so nothing supports the edge. It shows up often on oversized formats set on ridges instead of back-buttered.
THREE READINGS, THREE LAYERS
Read together, the three patterns separate the tile from the layers under it: a lone crack belongs to impact, a hollow or chipping edge belongs to the bed, and a crack that runs belongs to movement the floor was never given anywhere to go.
Name the layer before anything is cut out. Swap the tile alone and the same line, or the same hollow note, reappears a little further along.
The bed beneath the tile
Lift one tile and the cause is usually visible within seconds: how much adhesive transferred to the back, whether the ridges ever collapsed into full contact, whether the substrate was primed at all. Coverage decides whether this is one repair or the first of many.
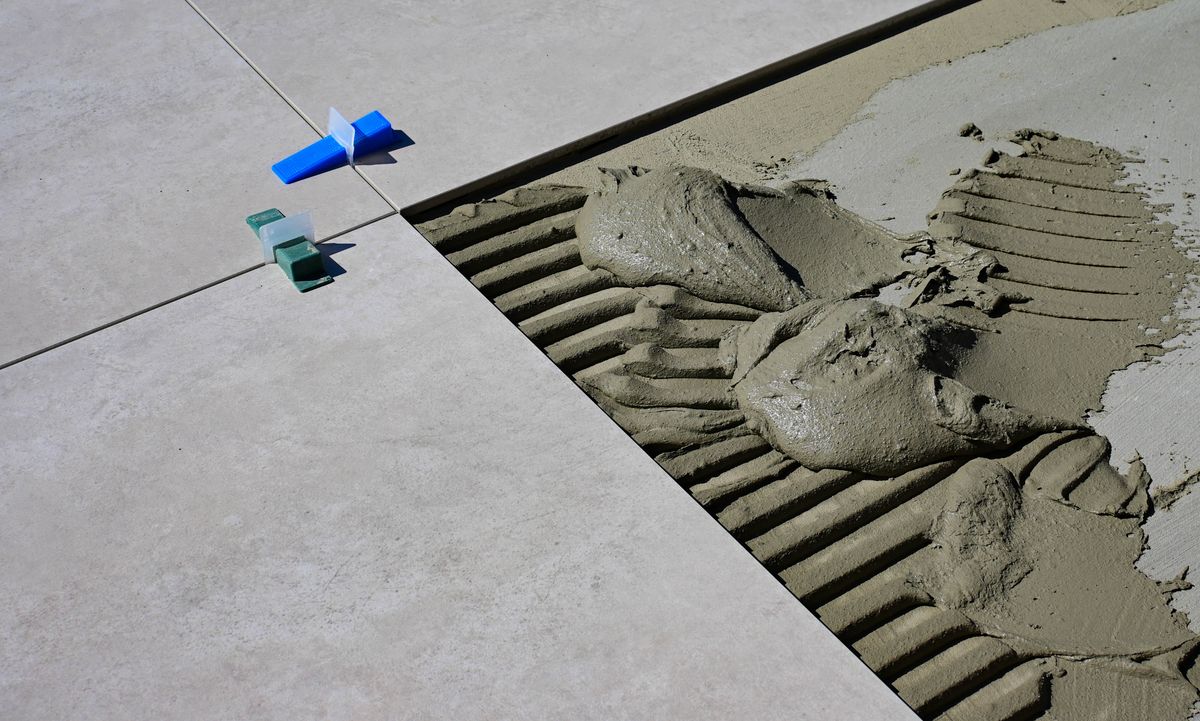
Reference frame: combed adhesive beside set tiles — the layer a lifted tile should reveal, and the one that explains most drummy floors.
04/05
Replacing a section without retiling the room
Most repairs are localised. Grout joints are scored first so the neighbouring tiles survive the cut, the damaged pieces come out, and the old bed is taken back to sound substrate. Bedding the replacements flush is the difficult part — the new tile has to meet a plane that was set years ago, which is why a repair is slower per tile than the original run.
Matching the tile is the other constraint. Where a discontinued run can’t be sourced, the usual moves are borrowing tiles from inside a cupboard or beneath an appliance and putting the substitute in that hidden position, or committing to a deliberate contrast rather than a near-miss. A spare tile or a clear photo of the back stamp helps — the reverse of a tile identifies it far better than the face.
Some failures sit below the tile
WORTH NOTING BEFORE YOU ENQUIRE
How far the hollow note travels from the damaged tile
Whether a crack runs end to end or stops at one tile
Whether the perimeter gap is packed solid with grout
Whether the area stays damp or sits near a shower
Any spare tile, offcut or photo of the back stamp