
TILING MURRUMBEENA — KITCHEN SPLASHBACKS
Less tile than any other surface in the house, and the one nobody stops looking at. It sits at eye height between two edges that cannot be moved, so the set-out, the cuts and the finishing line are the whole job.
ON THIS PAGE
01 What the surface has to do
02 Substrate, set-out, cut-outs
03 The order the work happens in
04 Questions that come up first
05 Related work and reading
Kitchens across Murrumbeena, Carnegie, Hughesdale, Oakleigh, Chadstone, Malvern East, Bentleigh East, Ormond and McKinnon.
01 — OVERVIEW
Standalone splashbacks and splashbacks inside a full kitchen fit-out are quoted the same way: by what is behind the plasterboard and how many cuts the layout forces.
A splashback covers less square metreage than almost any other tiled surface in a house and is looked at more closely than all of them. It sits at eye height, under downlights that rake across the face of the tile, between two hard edges that cannot be shifted — the benchtop below and the underside of the overhead cabinets above. Nothing can be lost behind a vanity or tucked under a door. Every cut lands in view.
Most of this work happens in a kitchen that is otherwise finished — stone already fitted, cabinetry hung, appliances in place. Working cleanly around what is already there is as much of the job as fixing the tile.
02 — SUBSTRATE, SET-OUT, CUT-OUTS
THE SUBSTRATE
Plasterboard behind a cooktop is not automatically ready for tile. It gets checked for movement and flatness, patched where an old splashback or a relocated power point has left holes, and primed. Behind a sink, moisture-resistant sheeting earns its place.
THE SET-OUT
Where the first full tile lands decides where the last cut one does. Set-out runs from the cooktop centre or the dominant wall, so the cuts fall at the ends of the run and vertical joints don’t collide with a rangehood edge or a window reveal.
THE CUT-OUTS
Power points, switches and cabinet returns all need holes cut with the pattern still reading through them. They are marked from the fitted plate rather than the plan — a few millimetres out is visible from the other side of the room.
REFERENCE PHOTOGRAPH
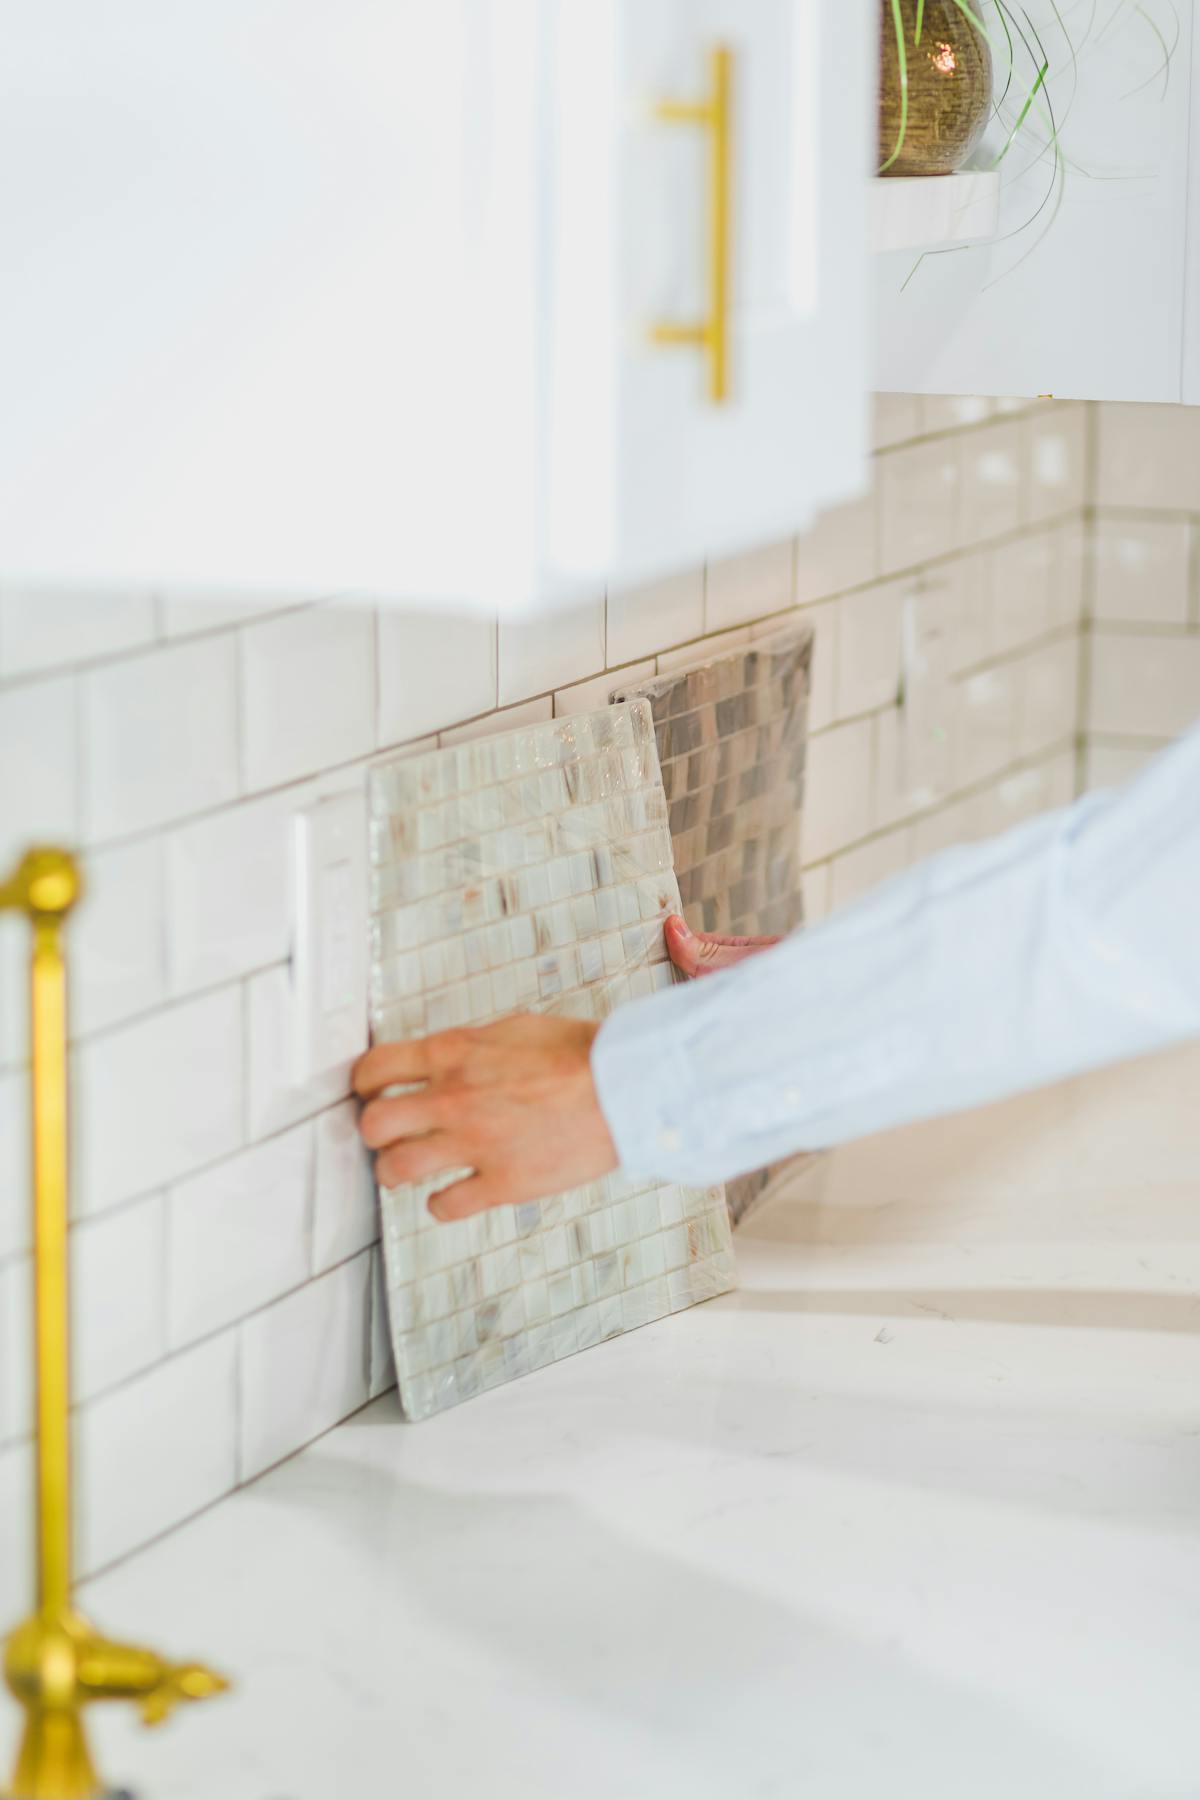
A sheet held up against the wall is the last moment a splashback is still a sample. Grout colour, joint width and where the sheet edges meet the bench are decided here, before any adhesive is mixed.
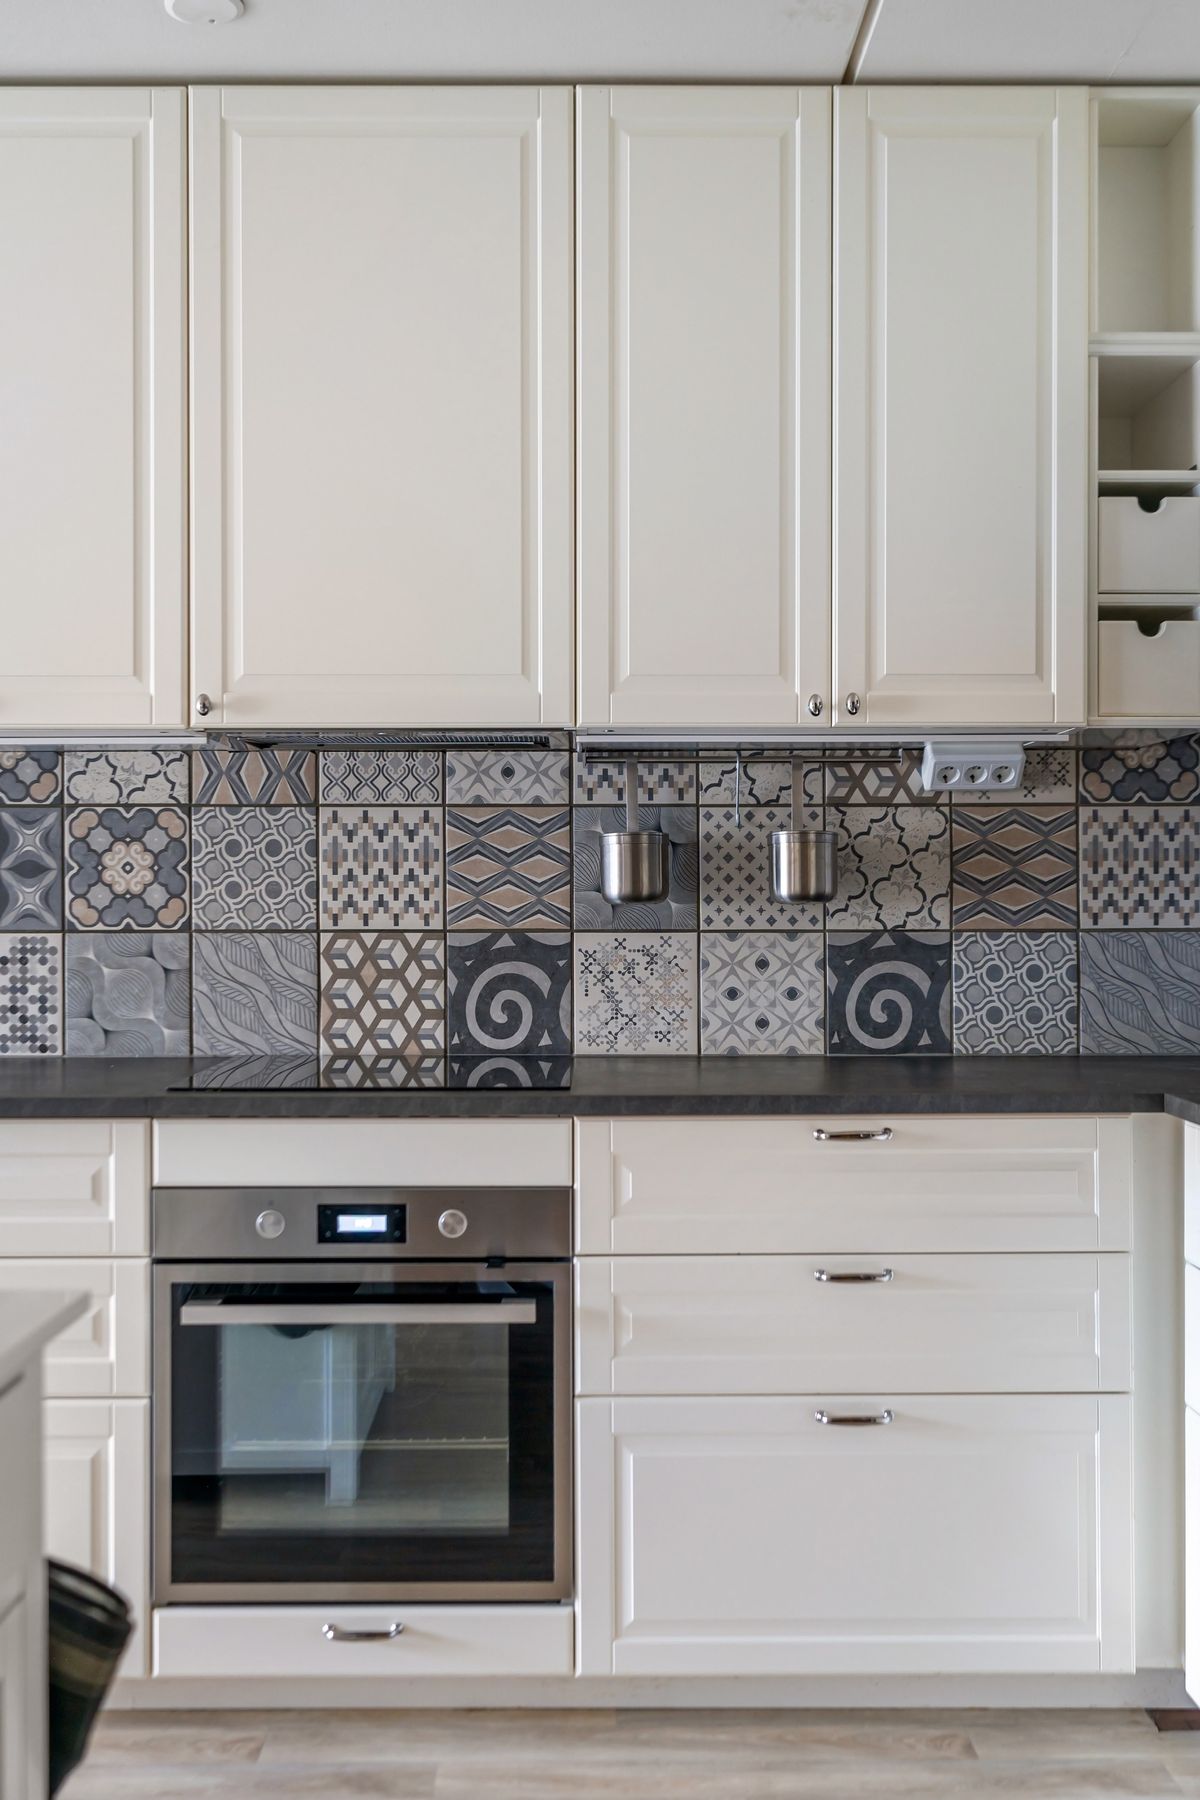
The end of the sequence: a splashback run grouted and siliconed at the bench junction, with the kitchen it sits in left in place throughout.
03 — SEQUENCE
01 Measure the run, confirm tile and grout, then mask and cover the bench, cabinetry and floor.
02 Remove the old splashback where there is one, make good the wall, check it for flat and prime.
03 Mark the set-out and dry-lay the pattern so the cuts and the cut-outs are agreed before fixing.
04 Fix, cutting around plates and returns on site, keeping joints consistent across the whole run.
05 Grout, then silicone the bench and cabinet junctions — those joints move, so they never get grout.
04 — QUESTIONS THAT COME UP FIRST
Four things worth settling before a splashback is booked: the benchtop, waterproofing, whether the old surface can stay, and grout colour behind the cooktop.
In most kitchens, yes. The stone stays, gets protected, and the tile is brought down to sit on it with a silicone joint rather than grout. Removing benchtops is a cabinetry job and rarely necessary for a splashback alone.
05 — RELATED WORK AND READING
A length in metres, a photograph of the wall as it stands, and whether the kitchen is finished or still being built is usually enough to start a useful conversation.
05 Floor Tiling — kitchens, hallways and laundries
06 Large Format Tiling — slab panels and flatness